Quick Overview
This guide shows you how to add a Microsoft List to a Microsoft Teams channel, whether by creating a new list or linking an existing one.
Adding a list as a tab makes it easy for your team to track tasks, share information, and collaborate directly within Teams.
Follow these steps to integrate Lists seamlessly into your workflow and keep your channel organized.
To view this video, please allow Functional cookies.

Step-by-Step Instructions
Step 1: Open Teams Channel
Open the desired Teams channel where you want to add the list.

Step 2: Add a Tab
Click the “+” icon at the top of the channel to add a new tab.
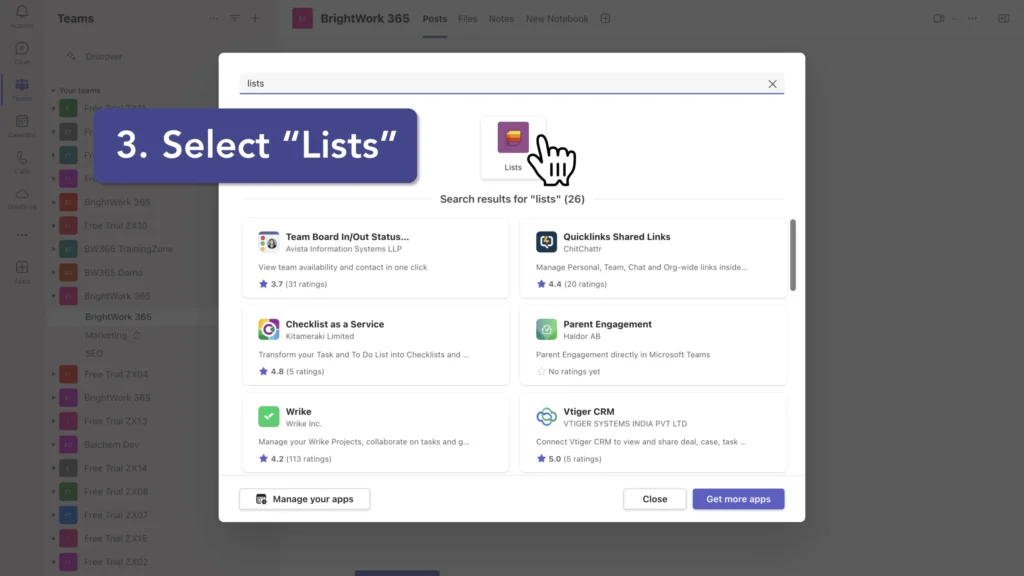
Step 3: Select “Lists”
In the “Add a tab” dialog box, search for and select “Lists”, then click “Save” to add the Lists app as a new tab in your channel.
Step 4: Add or Create a List
Option 1: Create a new list: Select “Create a list”. Choose to create a blank list, use a template, create from an existing list, or import from Excel. Give your list a name, description, and choose an icon/color if desired. Click “Create” to finalize the new list.
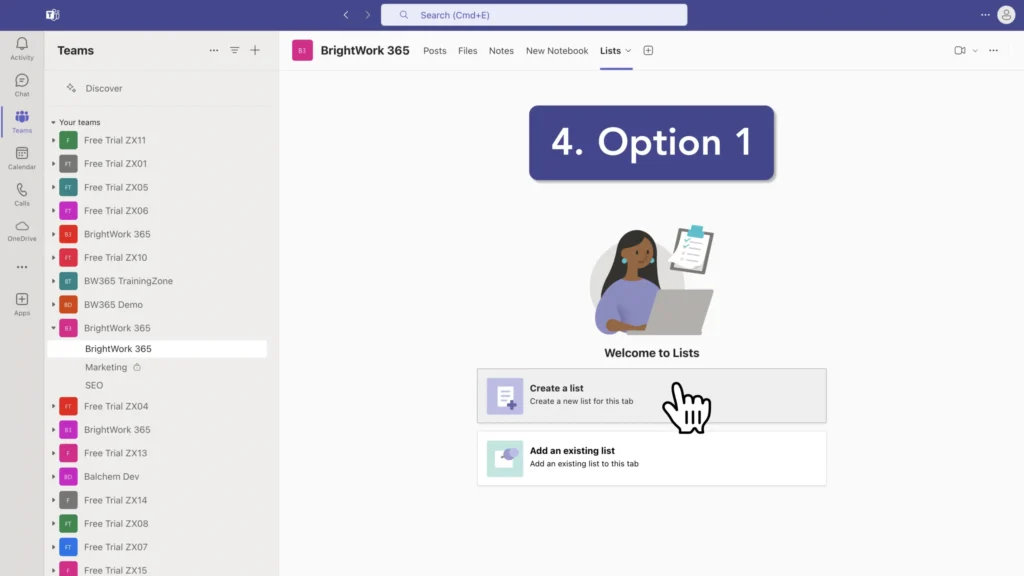
Option 2: Add an existing list: Select “Add an existing list”. Paste the URL of the SharePoint page containing the list you want to add. Alternatively, select from lists available in your current team or other teams you have access to.

Access and Permissions in Teams
The list will now appear as a tab in your Teams channel, allowing team members to view and edit it directly within Teams.
Remember that adding an existing list from a different team doesn’t automatically grant access to all team members.
You may need to adjust permissions separately. By following these steps, you can easily integrate Microsoft Lists into your Teams workflow, enhancing collaboration and information tracking within your channels
Explore BrightWork 365 for Microsoft Teams
See how BrightWork 365 helps teams plan, track, and report directly inside Teams.