
Introduction
SharePoint On-Premises is an amazing collaborative platform where teams can organize their work and move projects forward.
A SharePoint site can be easily configured to provide a more structured environment to track and manage a project with your team.
Using a SharePoint site to manage a project helps you bring all project information together in one collaborative environment.
In this article, we’ll cover the basics of a SharePoint project site before taking a closer look at a free template from BrightWork.
What is Microsoft SharePoint?
Launched in 2001 as a web-based collaborative tool, Microsoft SharePoint is used by over 400,000 customers in 250,00 organizations worldwide.
Unlike Word or Excel, SharePoint is not a single tool. Instead, SharePoint is a collection of tools used to:
-
Build intranets and external websites.
-
Store and manage documents.
-
Improve access to business data.
-
Boost collaboration with wikis, forums, and social sharing capabilities.
-
Automate processes using workflows.
-
Manage data and information in a secure environment with version and permission control.
SharePoint is highly configurable, allowing organizations to develop workflows and systems to support their internal processes.
SharePoint is available as a server-based On-Premises solution, a cloud-hosted solution, or a hybrid solution.
Organizations operating in highly-regulated environments, who require complex document management libraries, or who have invested heavily in customized workflows often use SharePoint On-Premises.
4 Key Features of a SharePoint Project Site
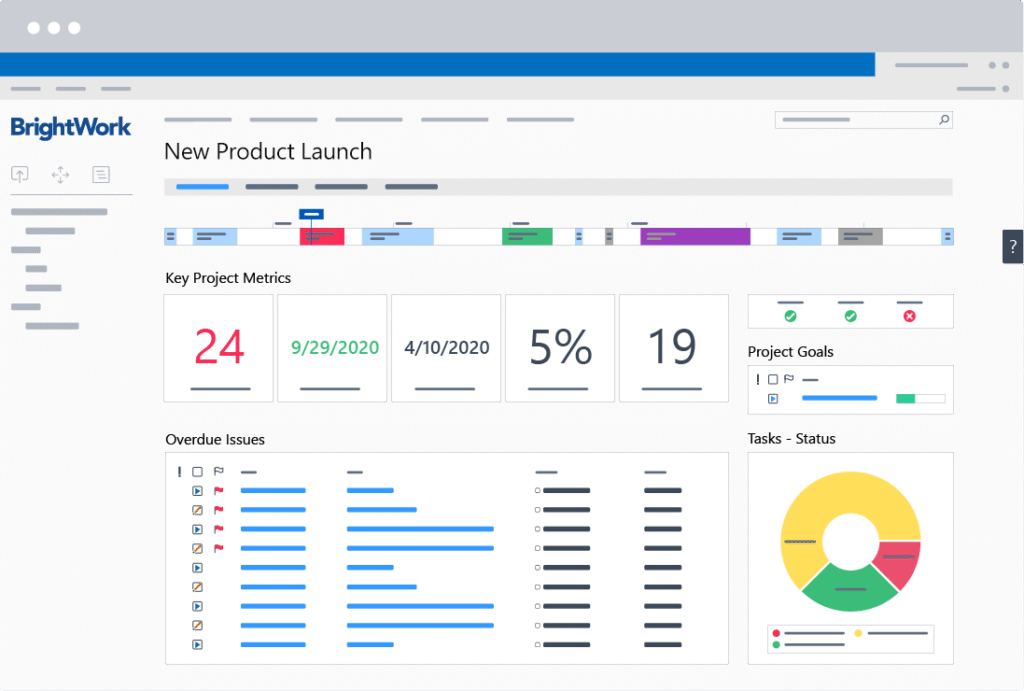
A SharePoint site is a home for your project, bringing lists, web parts, project information, documents, and reports into one environment.
With this ‘single source of project truth’, you can answer that all-important question – “What is happening with my project?’’
Below is an example of what a SharePoint site can look like when configured for collaborative project management.
Let’s take a closer look at some key features of SharePoint for project management.
1. Lists and Web parts
In a SharePoint site, information is organized in lists.
Made up of headings, rows, and columns, a SharePoint list looks similar to an Excel spreadsheet.
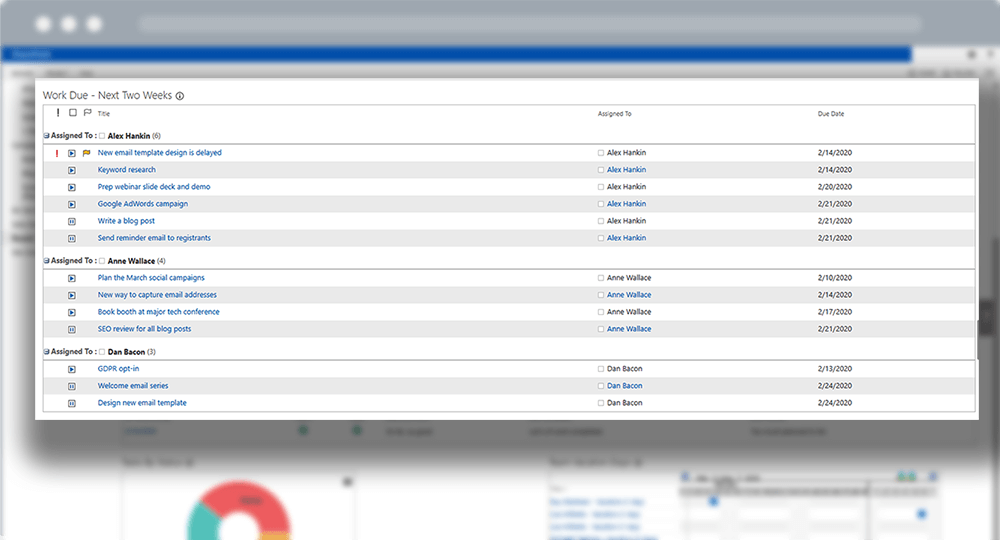
Key project lists include documents, tasks, issues, and risks.
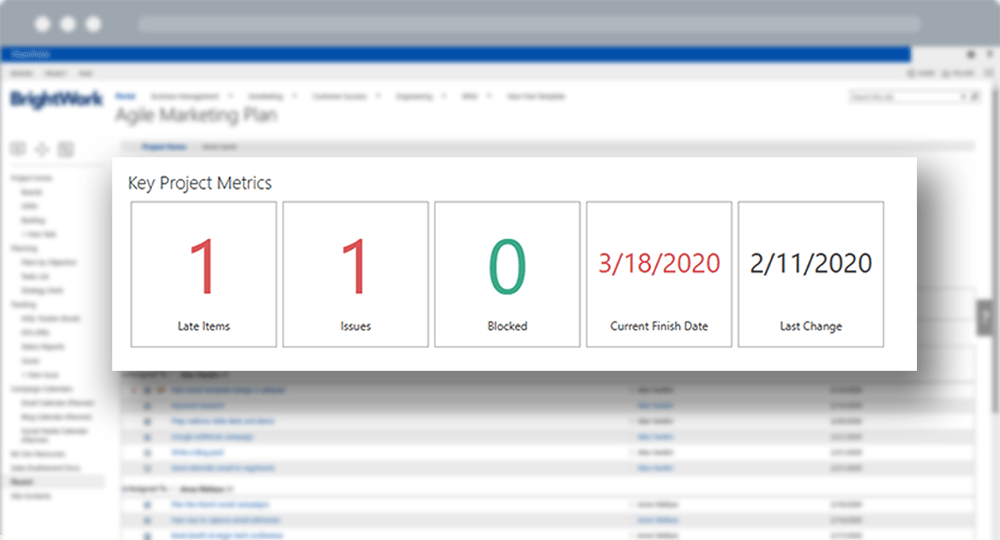
A SharePoint web part is a type of list used to store content in your site.
Web parts can function as a project dashboard or report, surfacing key project information in a usable way. For example, the ‘Late Items’ metric tile highlighted below opens the underlying Work report.
In a standard SharePoint site, you’ll need to configure lists and web parts to support project management. With a tool like BrightWork, you can get started quickly with pre-configured templates.
2. Quick Launch
The links on the left-hand side make up the Quick Launch. The Quick Launch can be tailored so the grouping and taxonomy reflects the processes used in your organization.
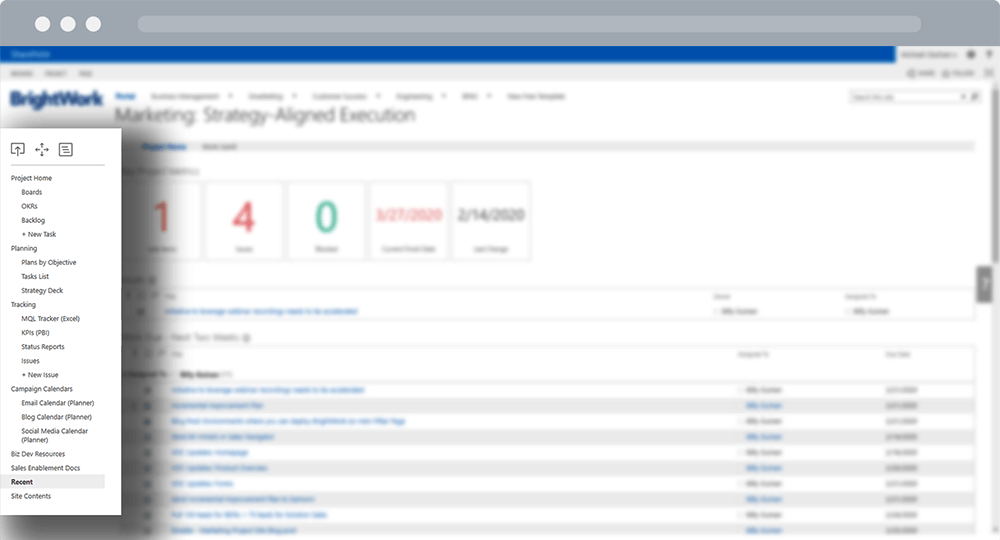
Think of the Quick Launch as a guide for team members with minimum SharePoint or project management experience.
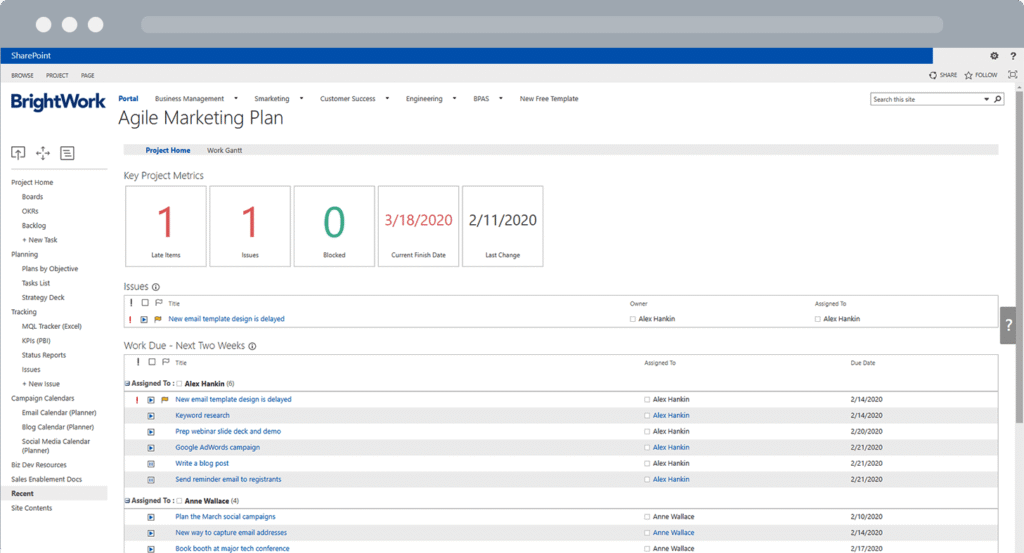
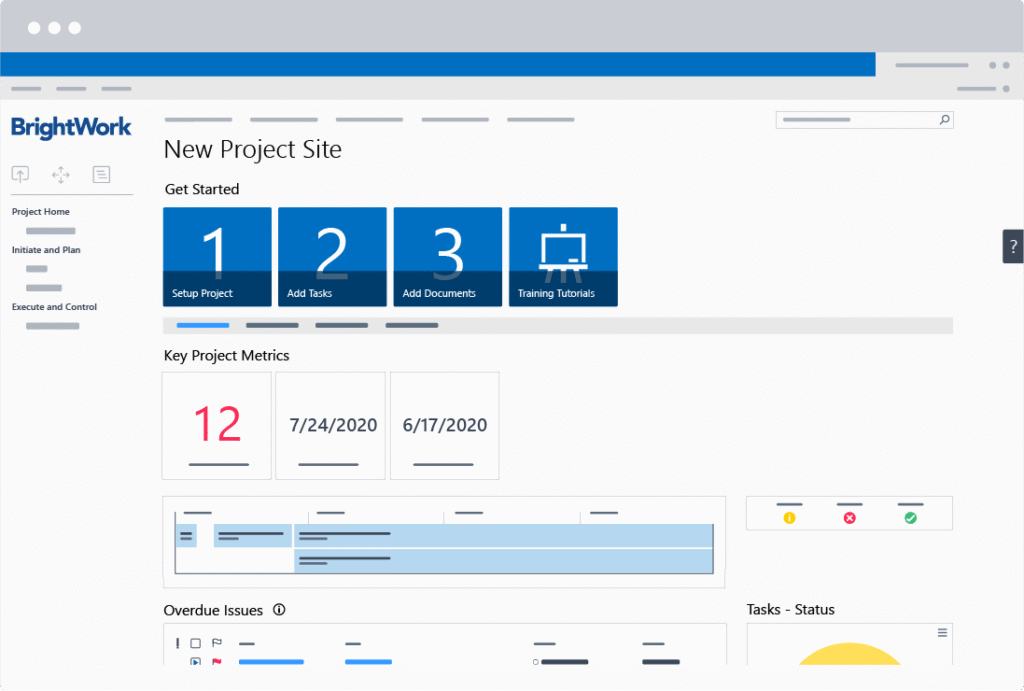
3. Project Homepage
The project homepage (pictured above) is made up of various web parts that provide a window into the various lists in your site.
A project homepage can include a dashboard with key project information such as:
-
Key project metrics indicating how the project schedule is doing.
-
Key lists for open issues and overdue work.
-
KPIs and project status indicators for health, time, cost, etc.
-
Task status charts showing how work is progressing.
As the data is a summary of underlying reports, you can simply click each element to drill down for more information.
The data on the project homepage automatically updates as each report is updated, so you have access to up-to-date information at all times.
4. Document Management
As well as a single location for project reports and tasks, your SharePoint project site also provides a centralized document repository.
Project teams often use multiple tools, like Excel or Microsoft Teams, for managing their work.
As a result, you’ll quickly end up with multiple versions of the same file stored in different locations.
Data is also easily overwritten, often without any way to restore previous versions.
What a headache!
A document repository in a SharePoint project site means there is just one version of a document stored in one place.
The team can collaborate together on the document as needed – regardless of their location.
With version control, it’s also easy to restore a previous version of a document.
Next Steps
A quick way to get started with project management on SharePoint is the free template from BrightWork.
The template allows teams to manage individual project sites in your existing SharePoint On-Premises infrastructure – no coding required.
The site already includes the project management essentials to help you plan, track, and re-plan the project, including:
-
Getting started Tiles
-
Project Homepage with at-a-glance information
-
Quick Launch
-
Wiki (Collaborative Project Management Process)
-
Tasks list (mapped to the Wiki)
-
Project Reports and Metric Tiles
-
Document repository.
If you need to manage multiple projects and report across portfolios, take a look at the BrightWork Video Demo to learn more about our PPM solution.