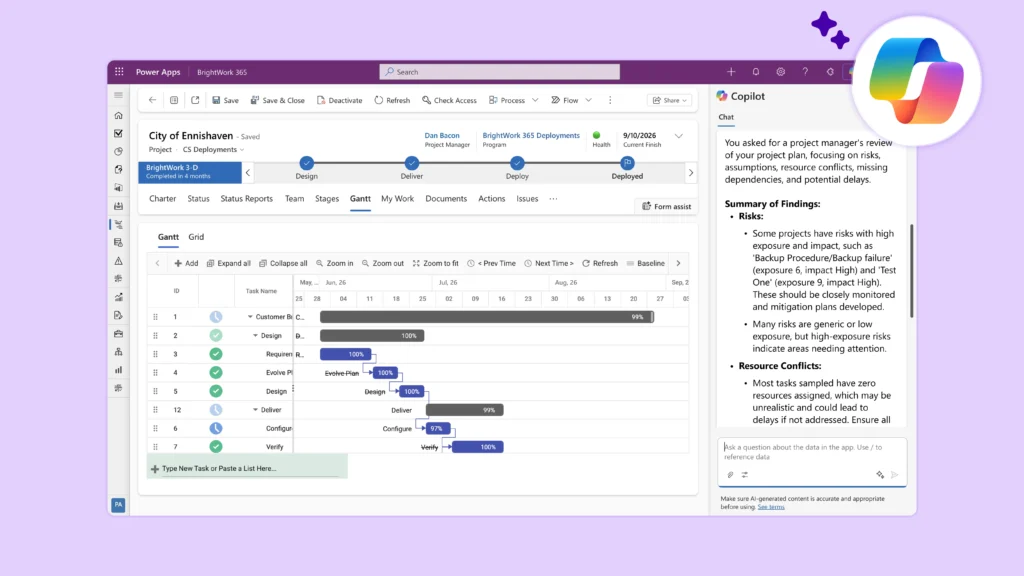
AI in Project Management (Series): Using AI as a Project Planning Assistant
By Shubhangi Pandey
Jun 23, 2026
4 min read
Search for expert insights, practical tips, and the latest Brightwork articles.

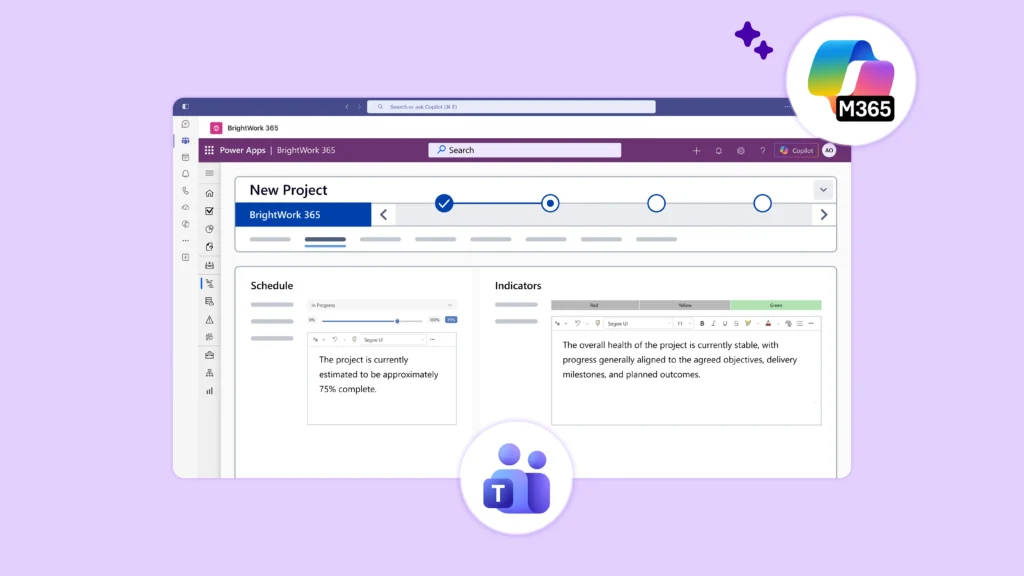
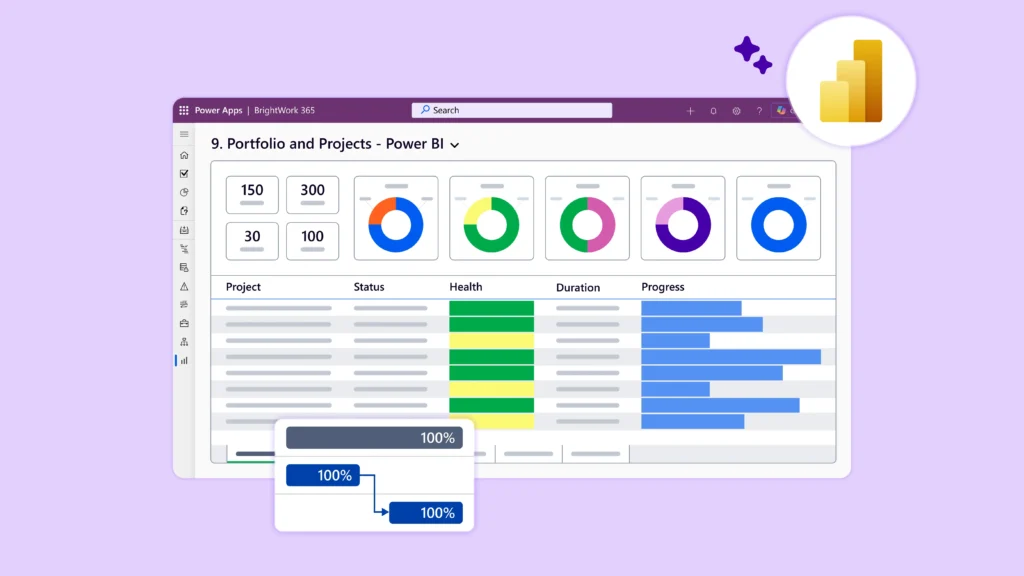

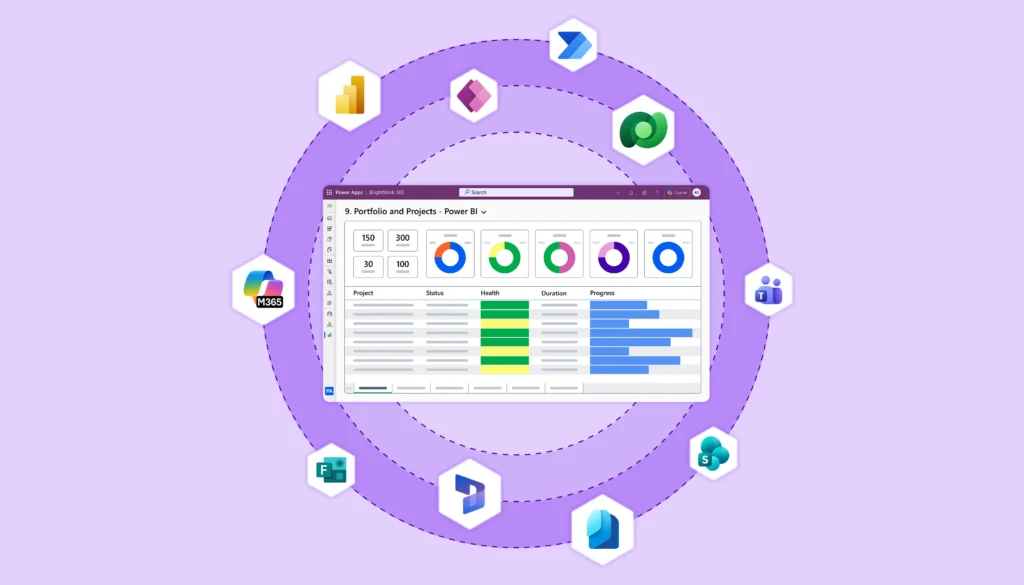
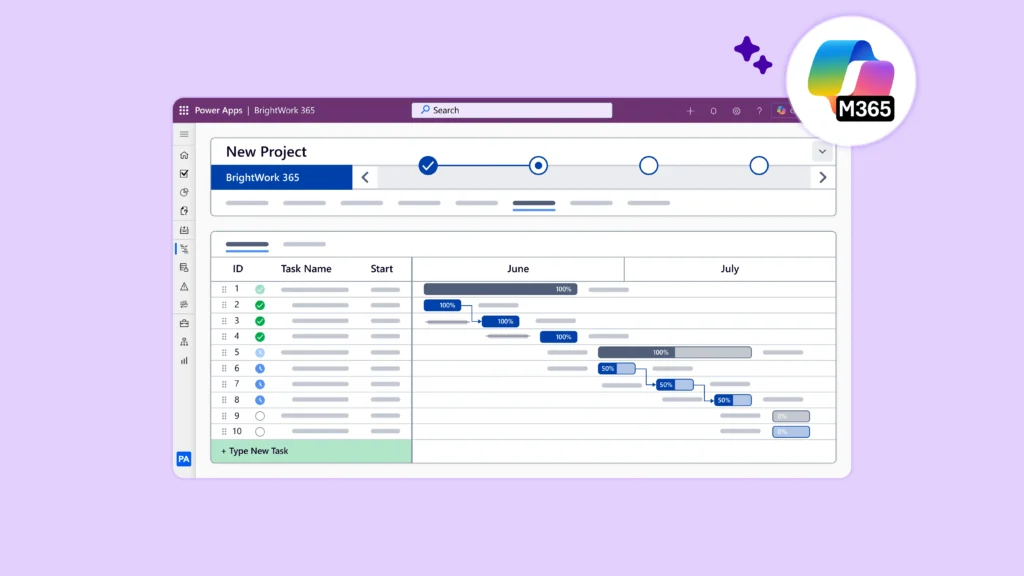
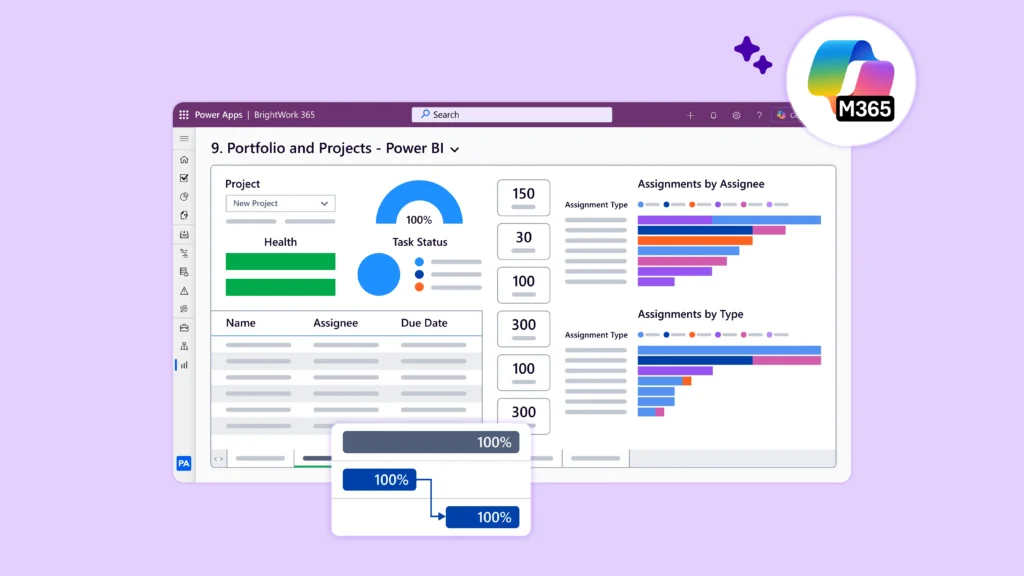
Plan, manage, and collaborate on projects with BrightWork 365 for Microsoft 365.