
In SharePoint, a project site is a dedicated site or subsite that is created to support the management and collaboration of a specific project. It provides a centralized location for project teams to organize, share, and collaborate on project-related information, documents, tasks, and discussions. This blog post will cover how to create a project site in SharePoint 2016, SharePoint 2019, or SharePoint Online using the free template from BrightWork.
A SharePoint project site typically includes various components and features tailored for project management, such as:
-
Document Libraries
-
Task Lists
-
Calendars
-
Discussions and Announcements
-
Issue Tracking
-
Project Summary Web Parts
-
Integration with Office Tools
If you have some SharePoint knowledge and the right permission, you could create a project site in SharePoint and configure all of the key elements yourself.
That is where BrightWork comes in – we have done the entire configuration for you in our SharePoint Project Management Template. We have taken all the elements list above and wrapped them up in a neat template that is pre-configured for project management and based on best practices.
Note: If you are using SharePoint 2019 or SharePoint Online – you will need to first create a SharePoint classic site collection in order to use this template and follow the steps in this guide.
Step 1: Install the Template in Your SharePoint Environment
-
1. Download the SharePoint Project Management Template from BrightWork here.
-
2. Unzip the downloaded folder and save the SharePoint template (.wsp file) to a suitable location on your desktop.
-
3. Log in as a Site Collection Administrator* to the chosen on-premises Site Collection.
-
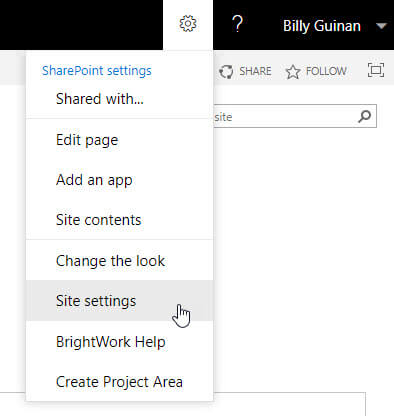
4. Click Settings | Site settings on the site collection home page.
-
5. Click Solutions.
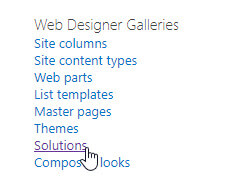
Note: if you can’t see Solutions here, make sure you are not trying to add the template to a subsite.
-
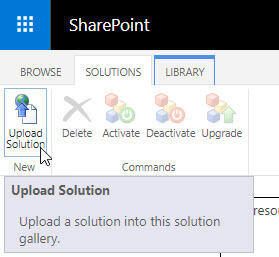
6. Select the Solutions Tab and click Upload Solution.
-
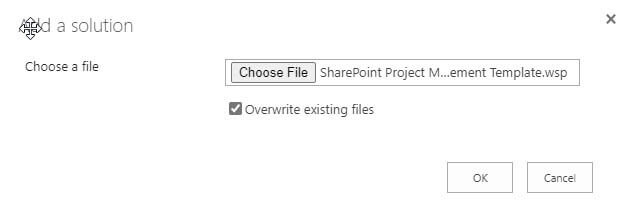
7. Click Browse and navigate to the location where you unzipped the downloaded file.
-
8. Select the SharePoint Project Management Template.wsp file, and click OK.
-
9. Click Activate.
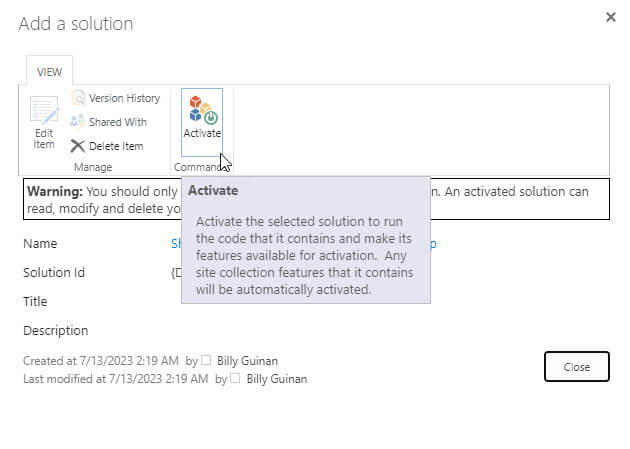
Your template is now installed!
* Site Collection Administrator is the permission level required to add a SharePoint solution to a site collection. If you need a higher permission level to install the free template, simply contact your SharePoint Administrator.
Step 1A: Create a Classic Site Collection in SharePoint 2019/SharePoint Online
-
1. Log in as a Site Collection Administrator to the SharePoint Admin Center in Office 365.
-
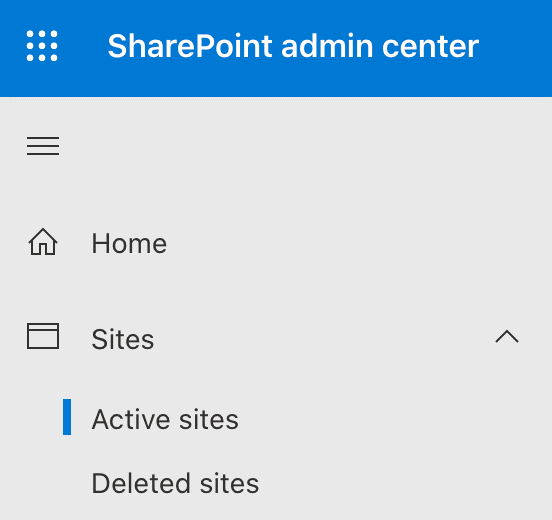
2. On the left hand side, click Sites and then Active Sites.
-
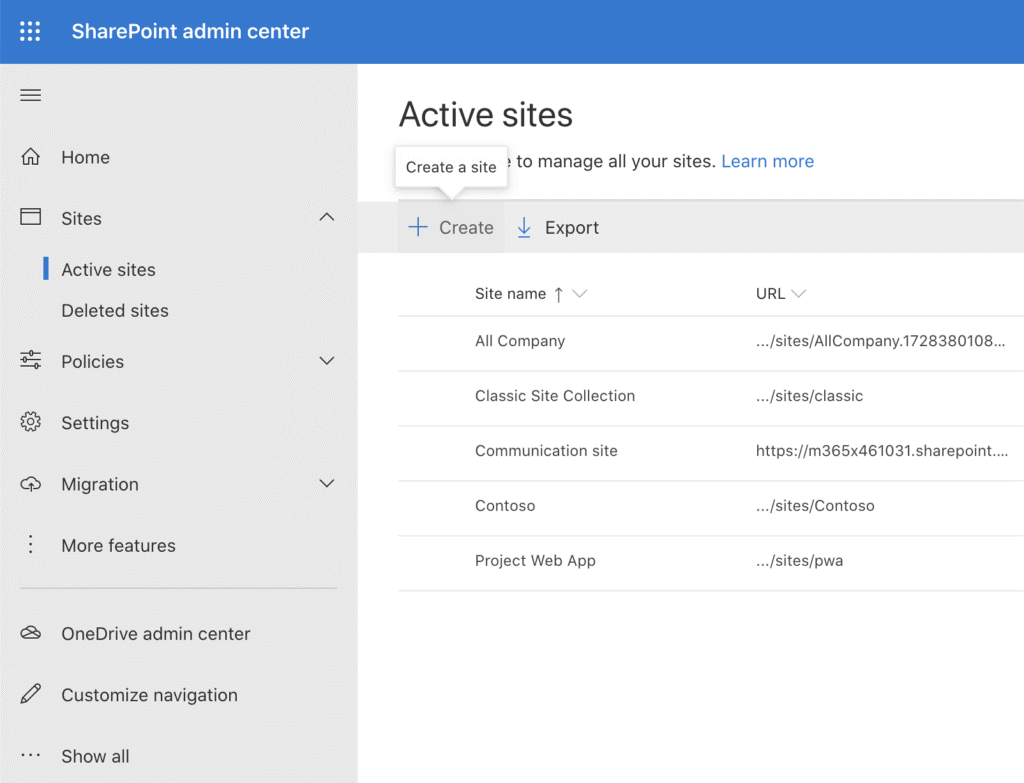
3. Click + Create.
-
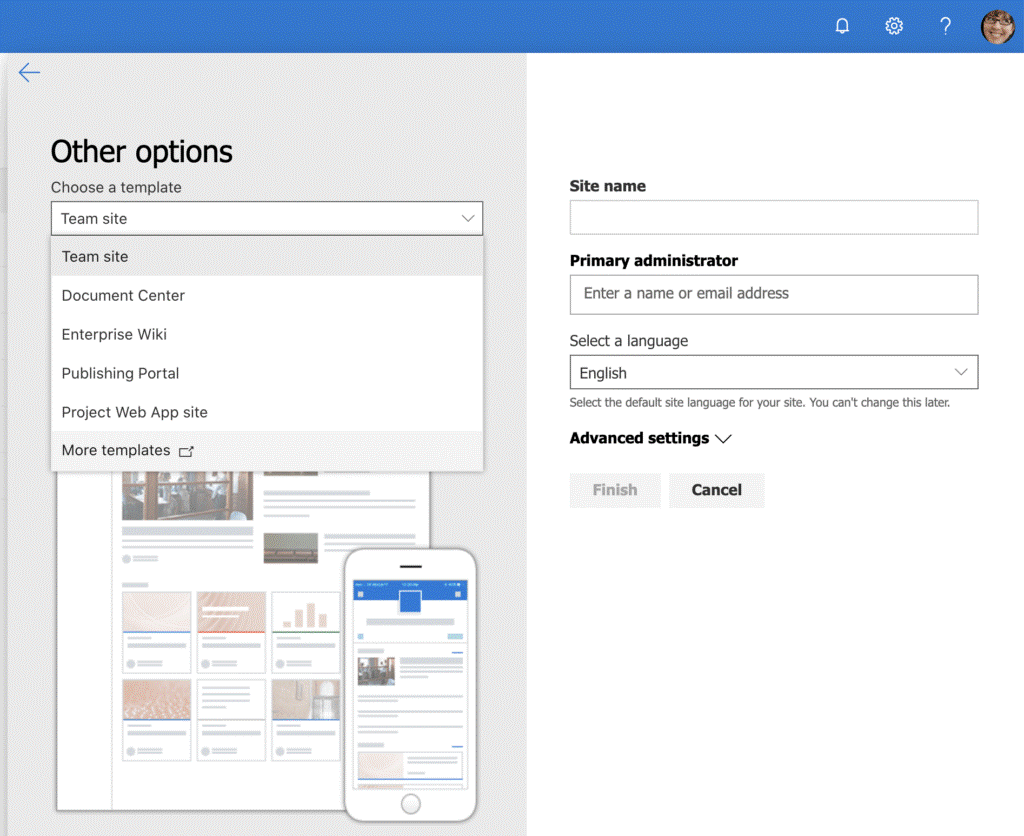
4. Select Other Options.

-
5. From the dropdown, select More templates (this will open in a new tab).
-
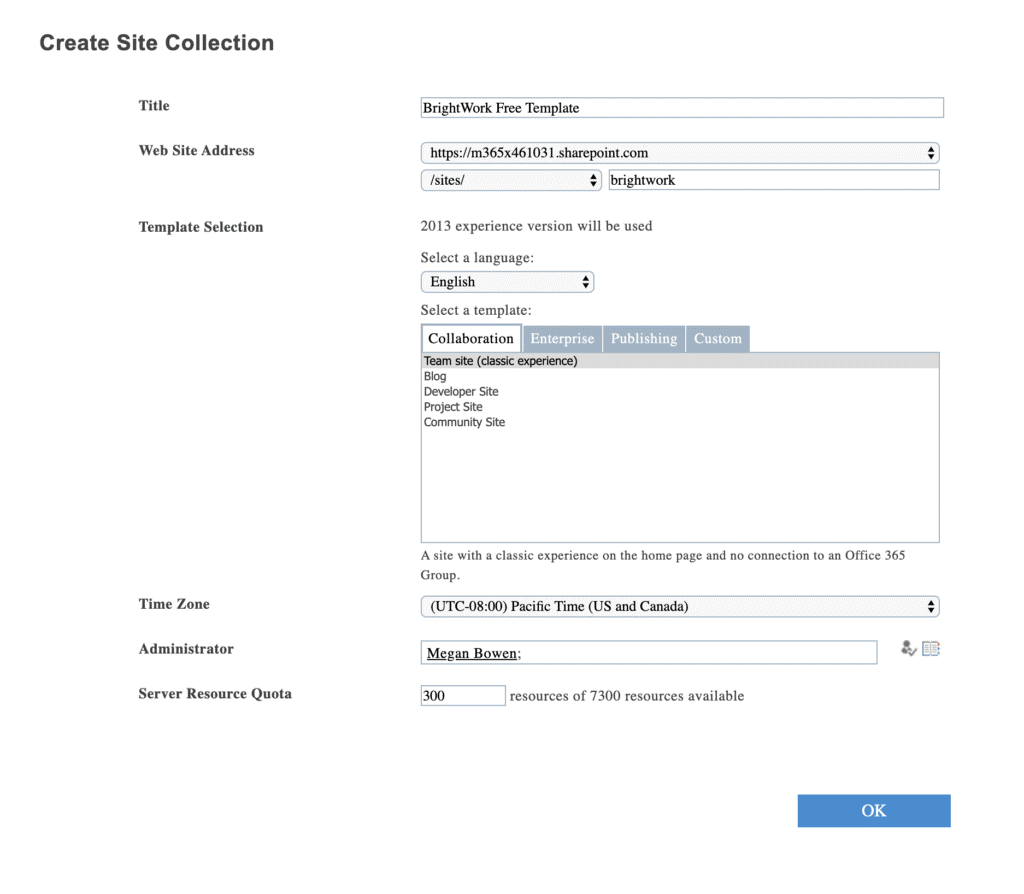
6. Add the Title, Web address, and Administrator information for your site collection. Under Template Selection, select Team site (classic experience).
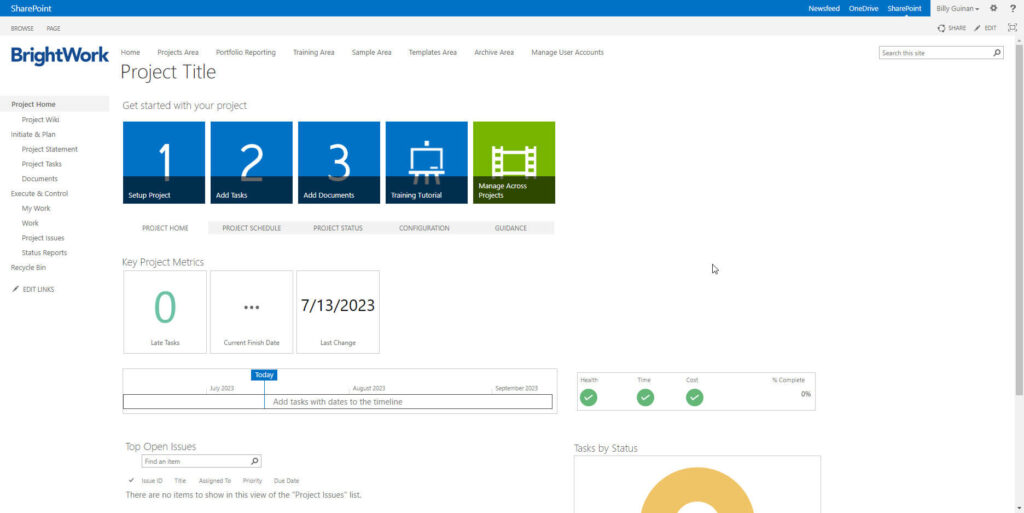
Step 2: Create a Project Site in SharePoint Based on a Template
-
1. Navigate to the location in the Site Collection Hierarchy where you want to create the new Project Site.
-
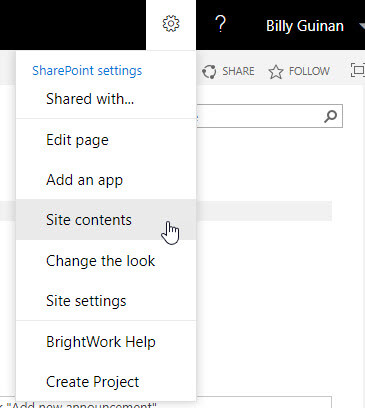
2. Click Settings | Site contents.
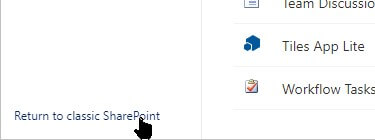
Note: If you are using SharePoint 2016 or 2019, click Return to classic SharePoint next.
-
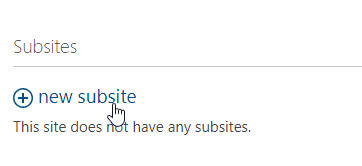
3. Click new subsite.
-
4. Give the new site a Title and URL.
-
5. Click the Custom tab.
-
6. Select SharePoint Project Management Template.

-
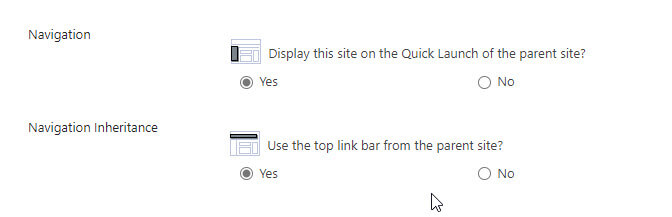
7. Select the appropriate Navigation and Navigation Inheritance options for your environment. The defaults selected in your environment are fine.
-
8. Click Create.
Wait a few moments and your new project site will be created!

Microsoft 365 and Power Platform – Using More than Just SharePoint for Project Management
It’s worth noting that SharePoint has evolved, and there are newer versions available beyond SharePoint 2019 and SharePoint 2016, such as SharePoint Online in Microsoft 365.
Some of you may know that BrightWork has been building a product for the Microsoft SharePoint platform for over 25 years at this point, which is the BrightWork solution we have today. BrightWork for SharePoint also happens to be the basis for the Free Template discussed in this blog post.
With the evolution of the Microsoft 365 platform, of course, there is still SharePoint, but there’s also Teams and other extensible features including Power Platform. In addition to SharePoint Online, Microsoft 365 includes additional features, apps, and improvements that can all be leveraged for their project management capabilities.
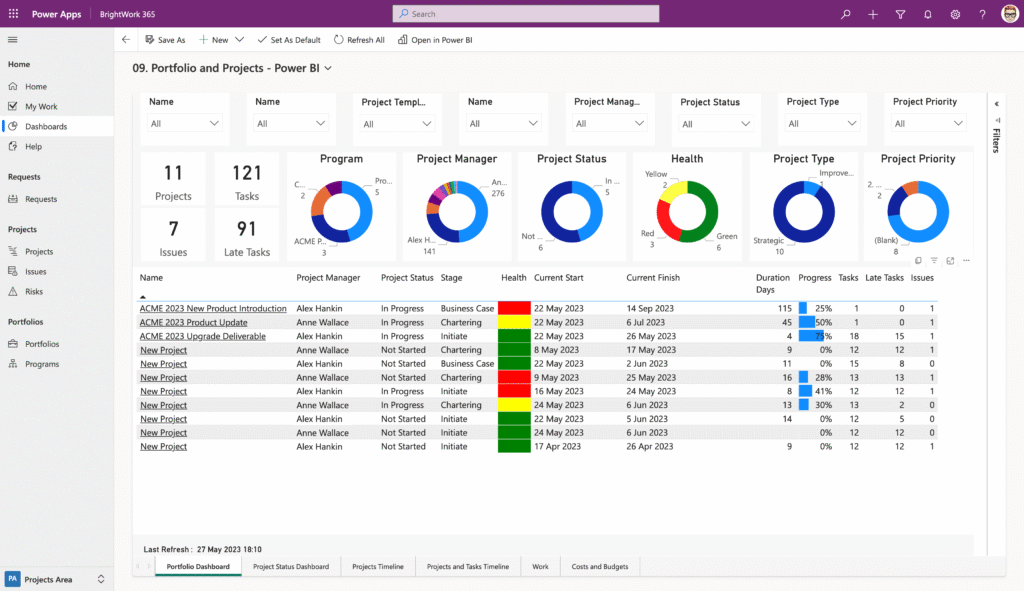
With that in mind, you may wish to move beyond strictly using SharePoint to manage projects. Instead of building something in Microsoft 365 just on SharePoint Online, we looked at all of what’s in Microsoft 365 and used the best pieces to build a brand new project and portfolio management system called BrightWork 365.
If your organization is moving away SharePoint as a standalone project management tool, but would still like to manage your projects within the Microsoft ecosystem, then Microsoft 365 is a good place to start.