In this series of posts I will show you how to:
- Create your own web part page layout template
- Reuse this layout (with web parts)
- Enable the Quick Launch on standard SharePoint web part page layout templates.
One of the ‘curiosities’ of out-of-the-box SharePoint are the web part page layout templates. Whilst there are a few useful layout templates, the weird thing about them is the absence of a Quick Launch. A web part page is a natural extension of a site. Why shouldn’t it have the site navigation?
Anyway, mini-rant over! Fortunately, BrightWork includes a web part page layout template with the Quick Launch. However, we only give you one template – the default one. While of course this will suit 90% of situations, there may be situations where you need or want to have a layout suited to your needs and that is what I will describe how to do here.
I will use SharePoint Designer 2010 to do this. You can download it for free from here. If you are not yet on SharePoint 2010, the basic principle of what I will show is pretty much the same in SharePoint 2007.
Note: This post will cover every step; however, if you are a real SharePoint or IT novice, you should be very careful when using SharePoint Designer, as it can be a very powerful weapon in the wrong hands.
Create BrightWork Web Part Page
First off, we will create a BrightWork Web Part page. If you don’t have BrightWork, just create a standard web part page using one of the SharePoint layout templates.
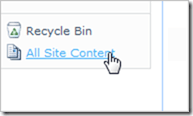
- Click All Site Content on your Project Office Quick Launch.

- Click BrightWork Pages.

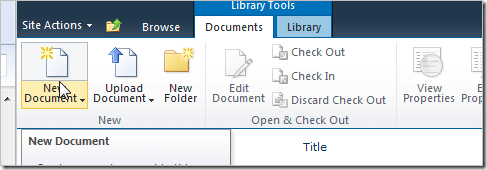
- Click Documents | New Document.

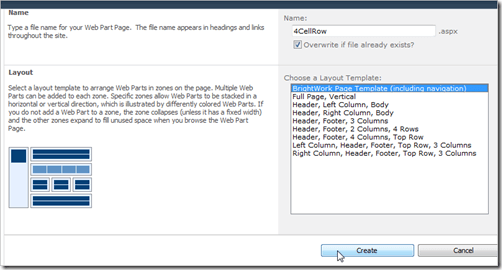
- Ensure BrightWork Page Template is selected, give the page a name and click Create.

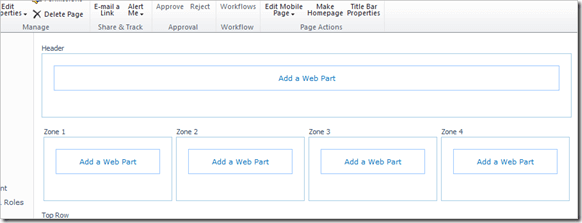
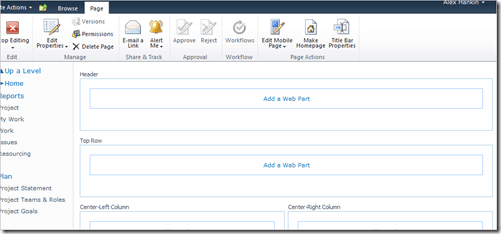
The new page will open with the below layout. You will be adding a new row that includes four web part zones.
Edit Page in SharePoint Designer
Note: Your site may not be configured to allow use of SharePoint designer – see here for more information.
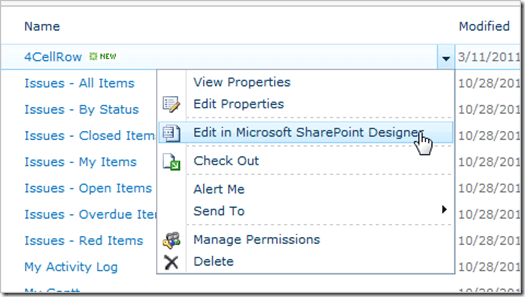
- Click All Site Content on the Quick Launch and then BrightWork Pages.
- Click Edit in Microsoft SharePoint Designer on the new page’s menu.

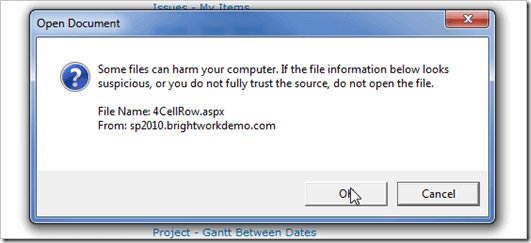
- Click OK.

- Enter you login credentials when prompted to by SharePoint Designer and click OK.
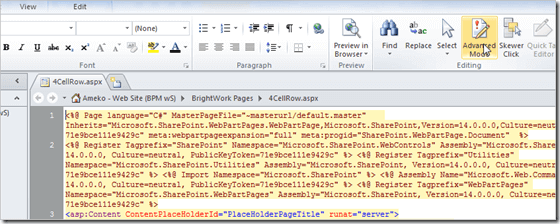
- Click Advanced Mode.Note: If you are familiar with SharePoint Designer 2007, this is a new ‘feature’ in SharePoint Designer 2010 that you should be aware of. The yellow code below is protected from editing until you click Advanced Mode.

- Click Split.

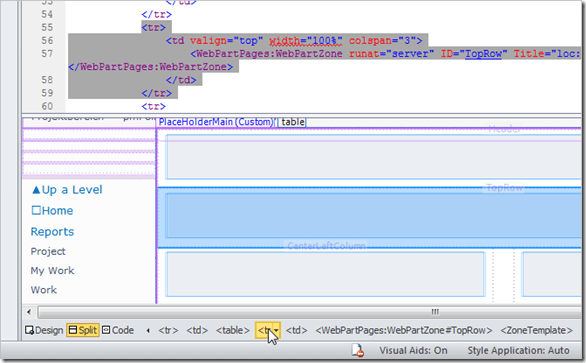
- Click in the row labeled TopRow.
- Now click on the tr to select the entire row so that the relevant code is selected (you can also do this via the code editor).

- Copy and paste the code so that you have two versions of TopRow.
- Click in one of the TopRow sections, select the WebPartZone and click Delete on your keyboard.

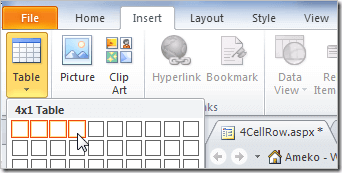
- Click Insert and then Table and insert a table with 1 row and 4 columns in the <td></td> cell that you just removed the webpart zone from.

- Click Insert | Web Part Zone.

- Repeat for the other three cells in the table.
- Click Save.
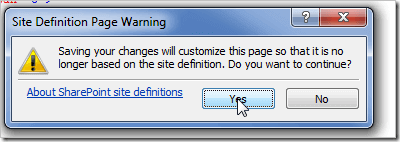
- Click Yes if prompted about changing the page from Site Definition.
 When you open the page for editing in SharePoint, it should have a web part zone layout like the below. You should now be able to create a layout that matches your own unique needs!
Next time up I will blog about how you can reuse this page, even with web parts added!





 When you open the page for editing in SharePoint, it should have a web part zone layout like the below. You should now be able to create a layout that matches your own unique needs!