How to Add a Whiteboard to a Teams Meeting
Follow the instructions shown on the right, or follow the more detailed instructions below.
Step-by-Step Instructions: How to Add a Whiteboard to a Teams Meeting
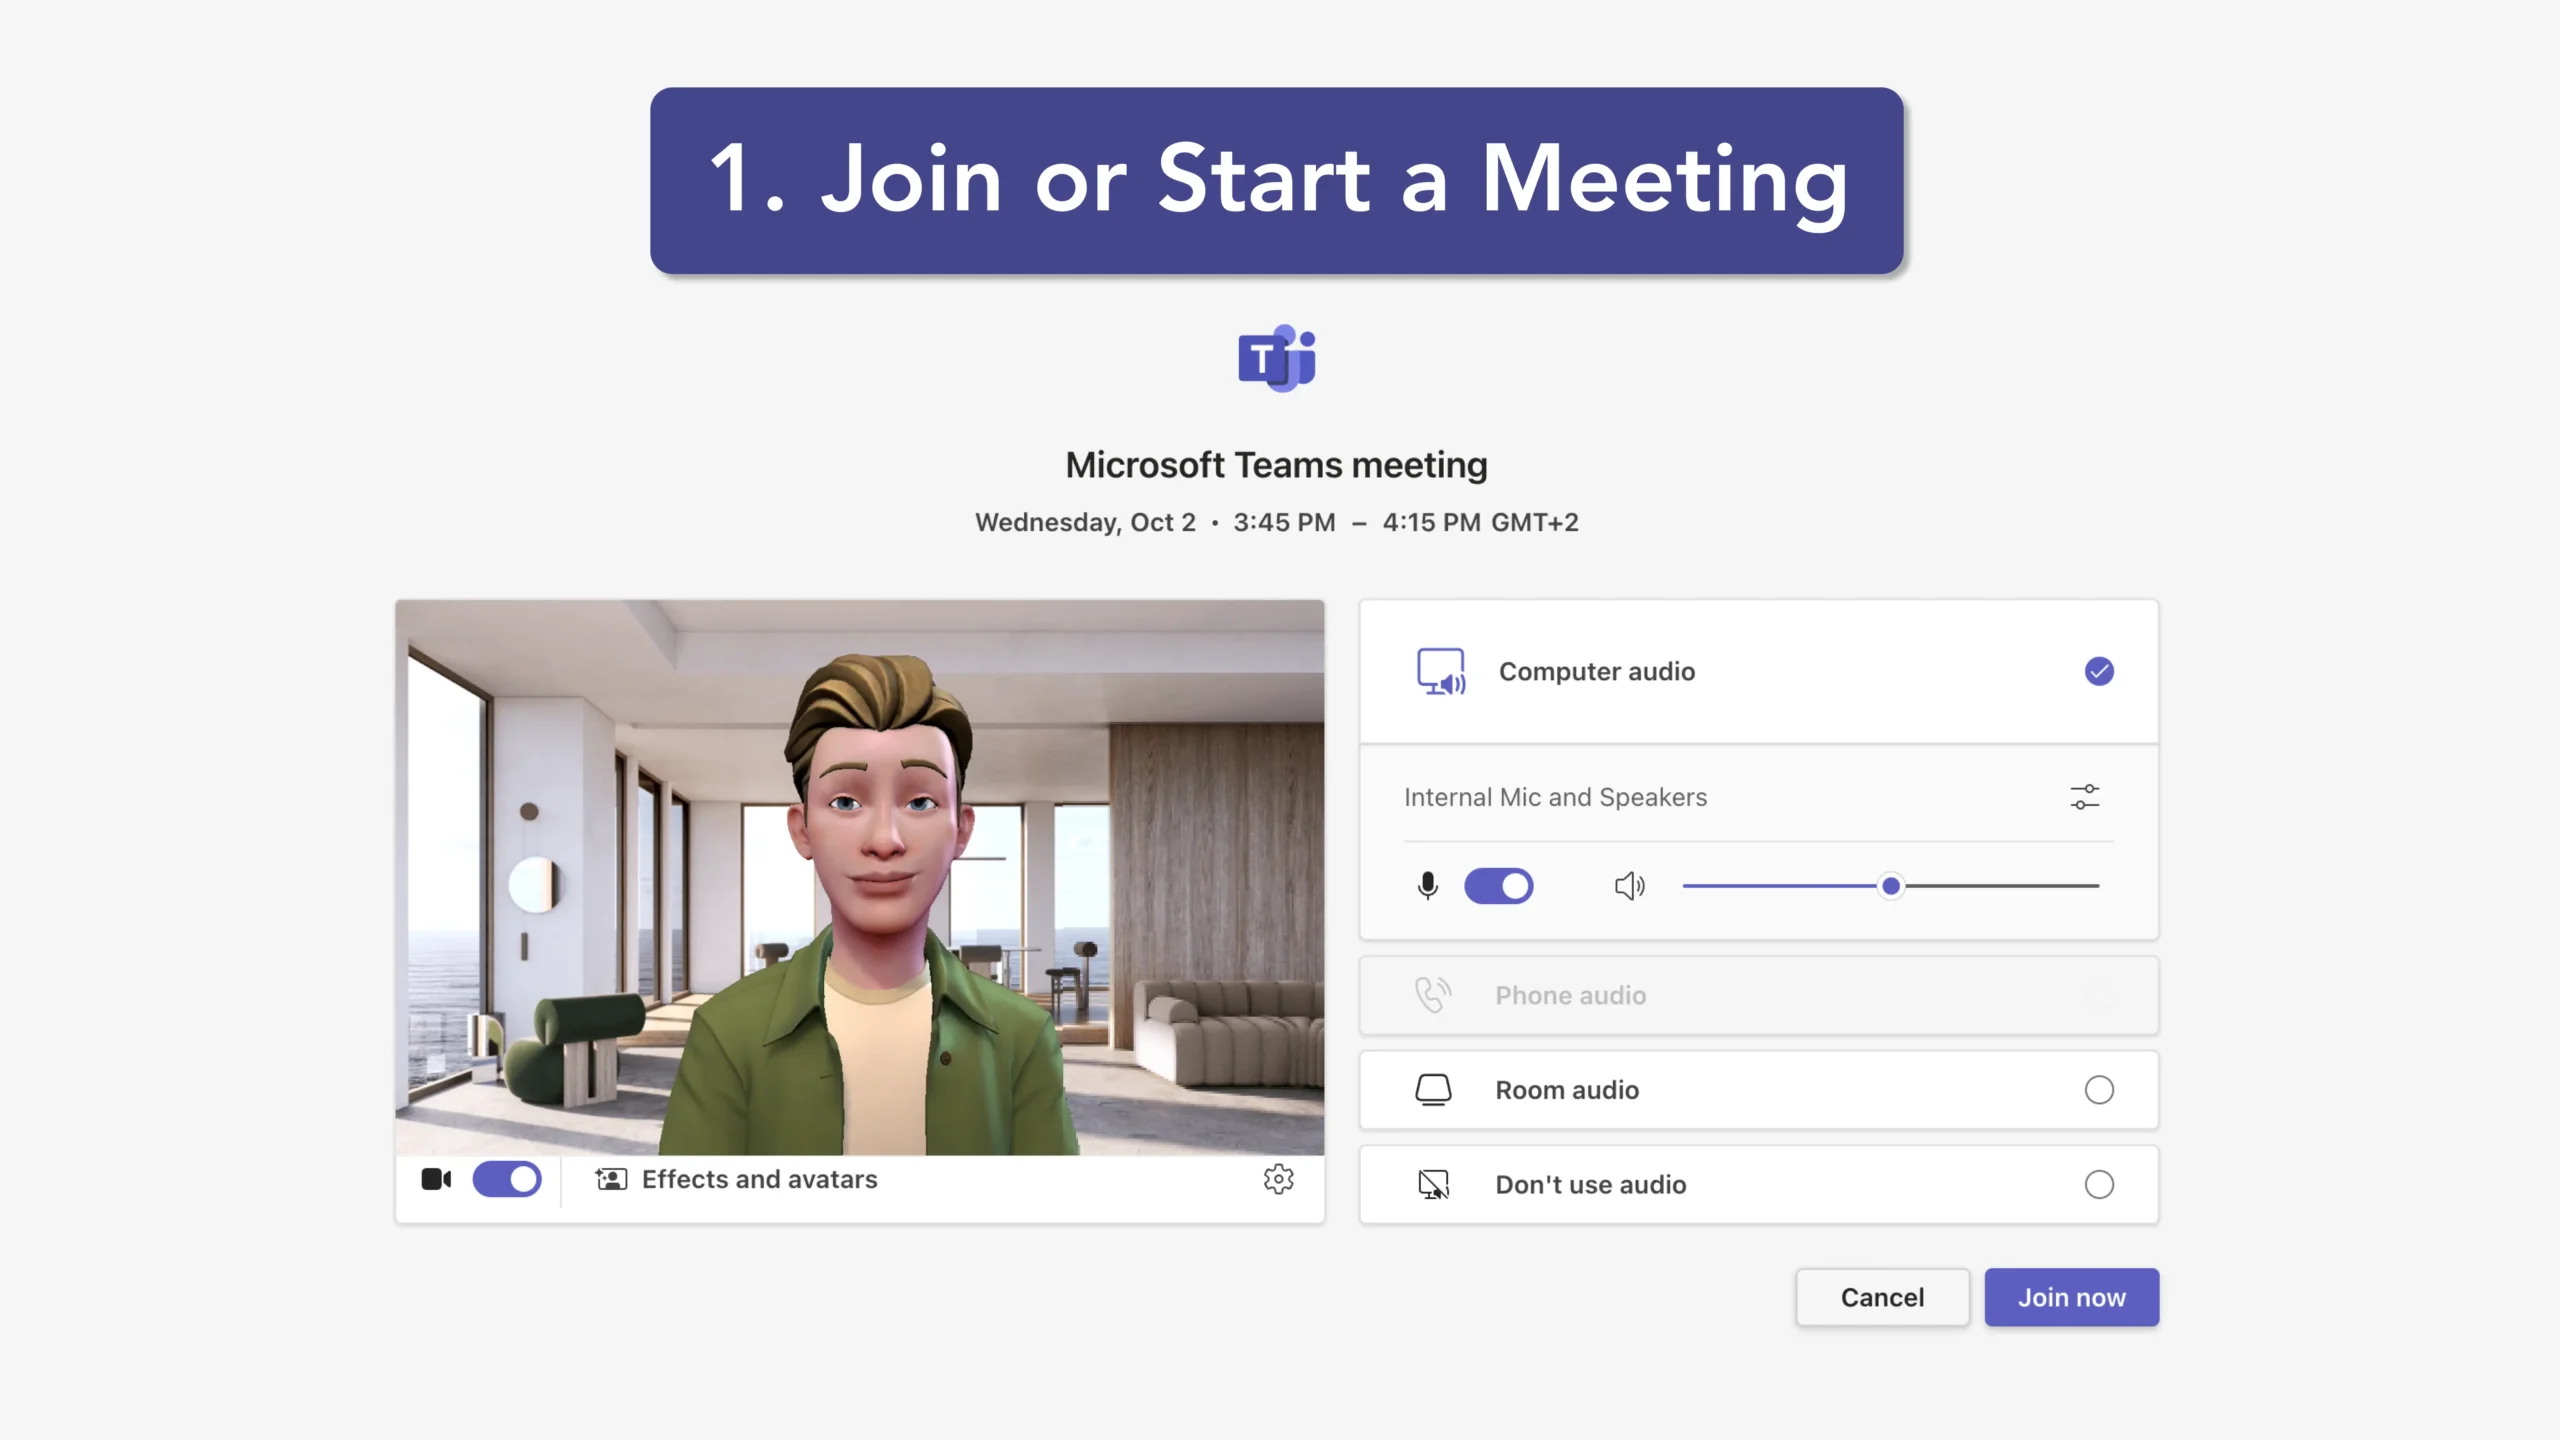
- Join or Start a Meeting: First, ensure you have either joined an existing meeting or started a new one in Microsoft Teams.
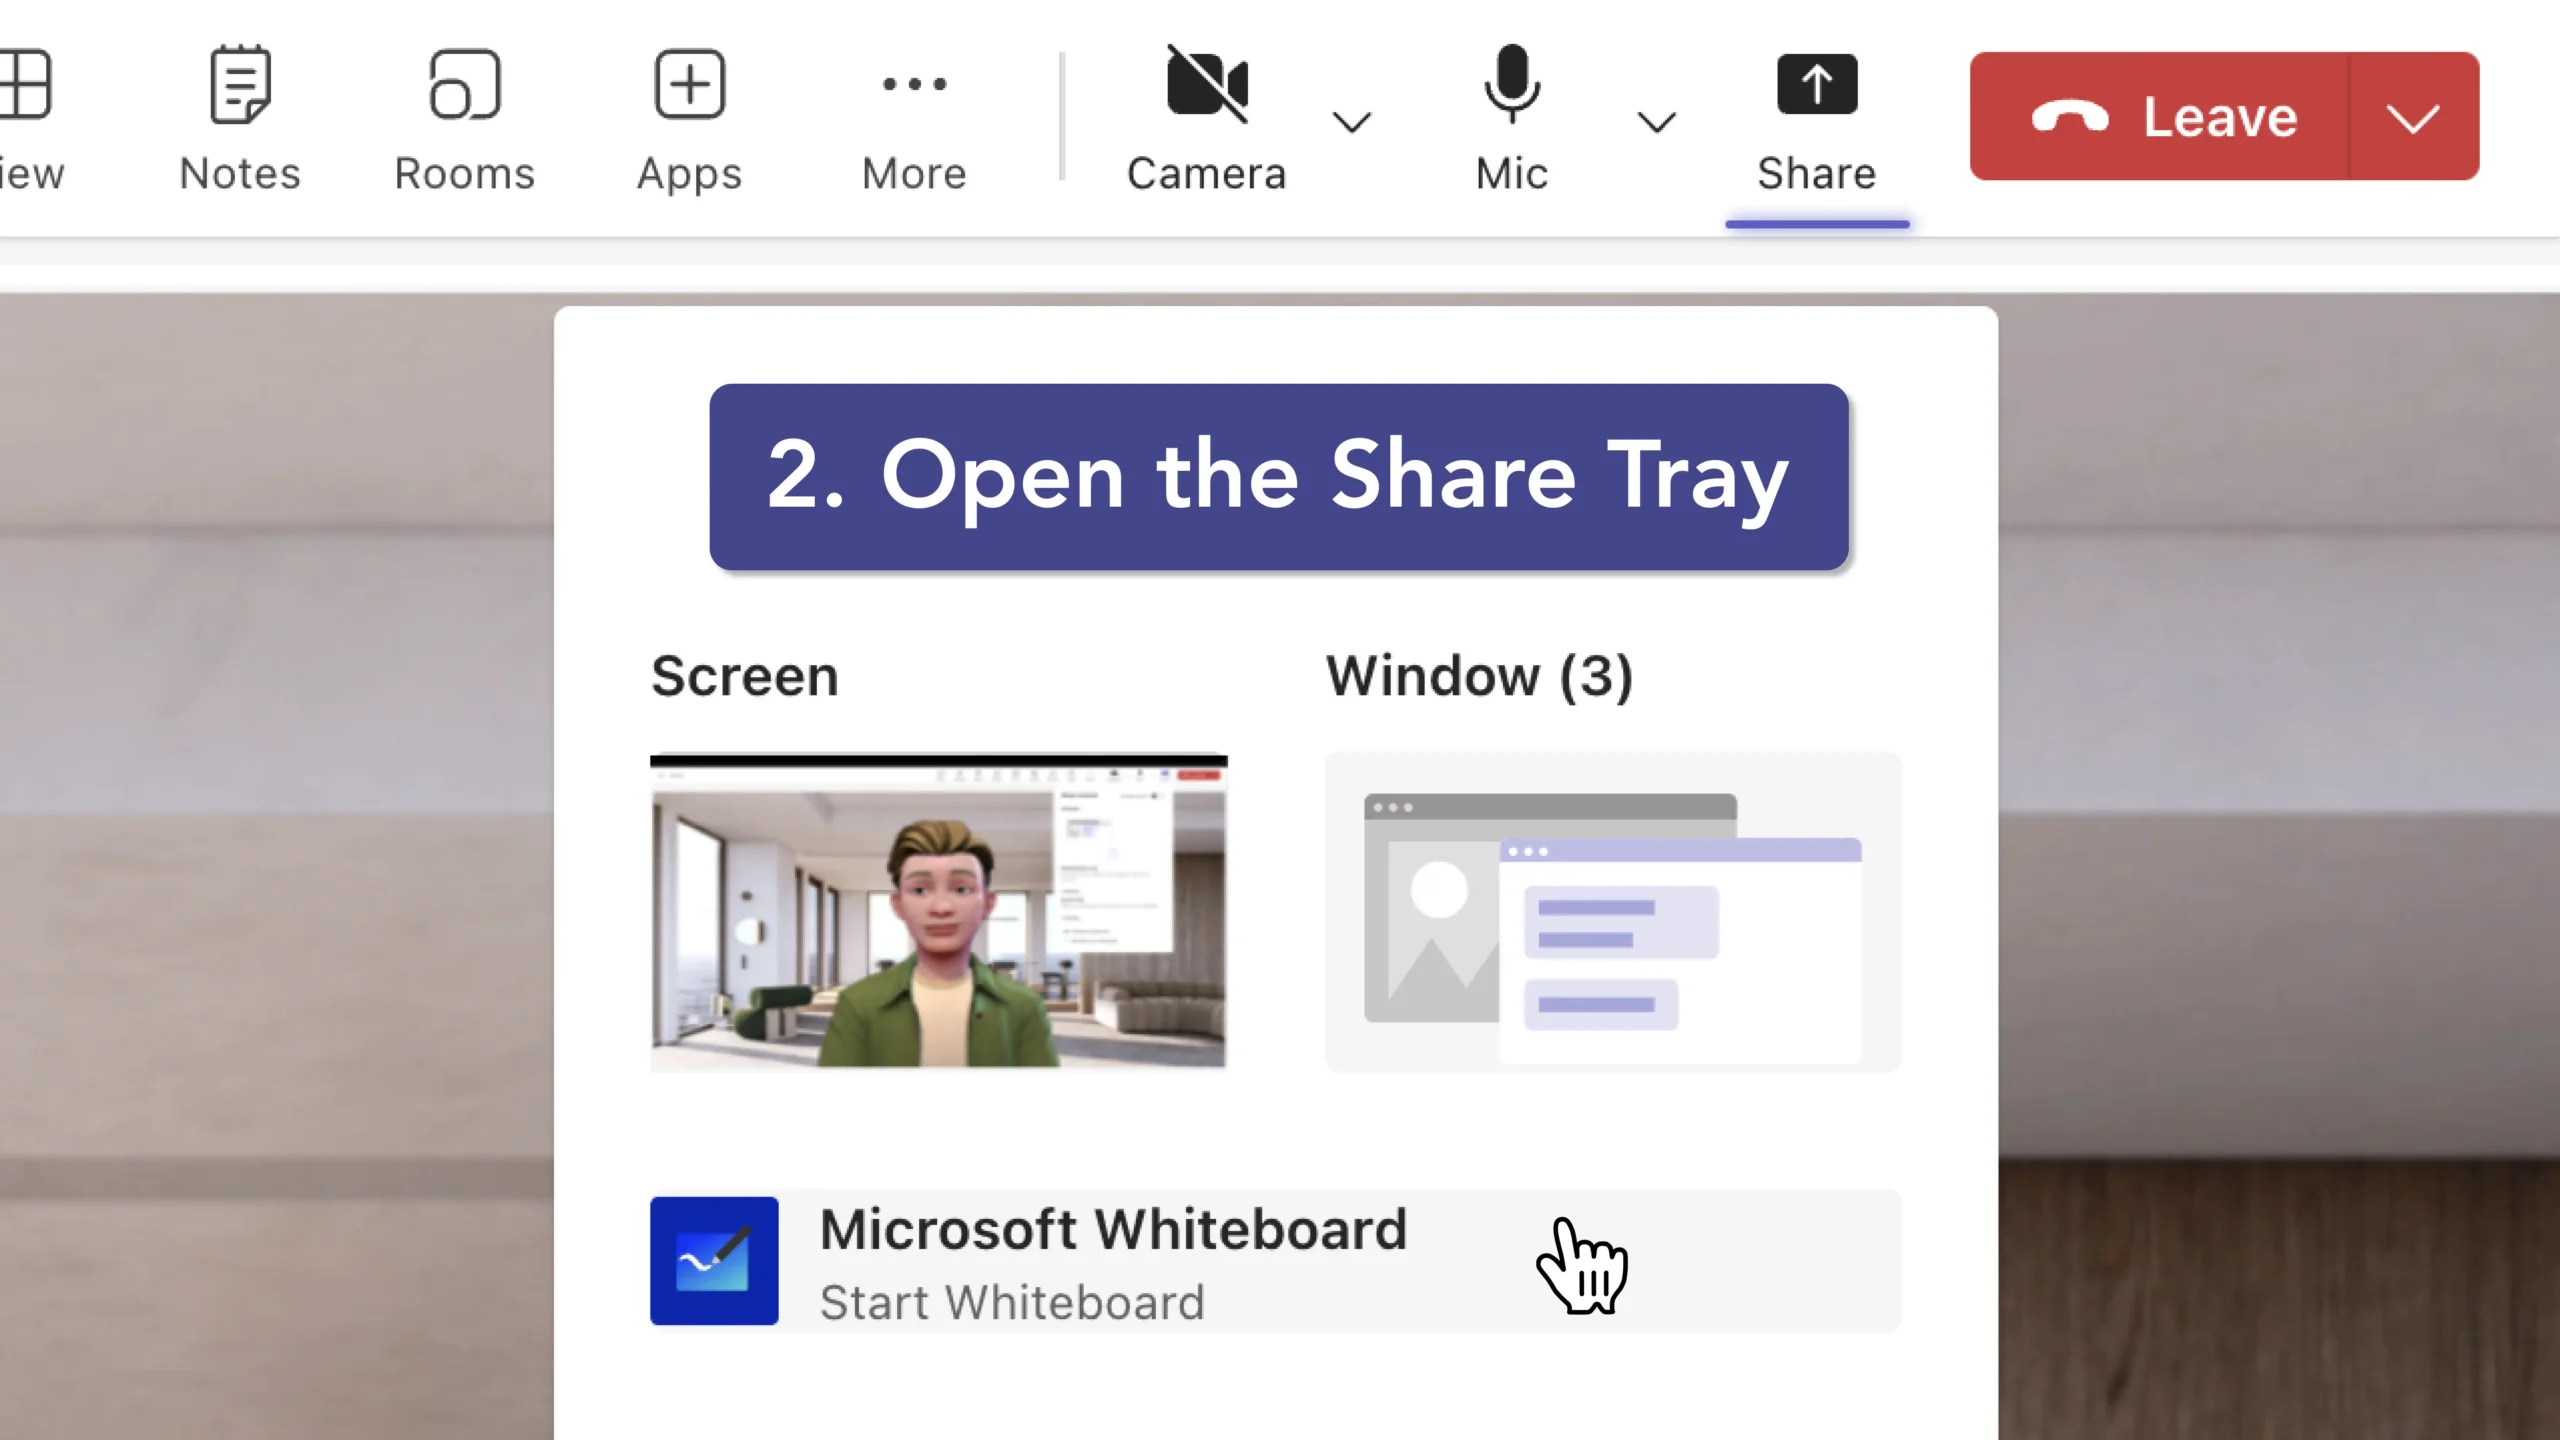
- Open the Share Tray: Once you are in the meeting, locate the toolbar at the bottom of the screen and click on the "Share Tray" icon. This is typically represented by an upward arrow icon.
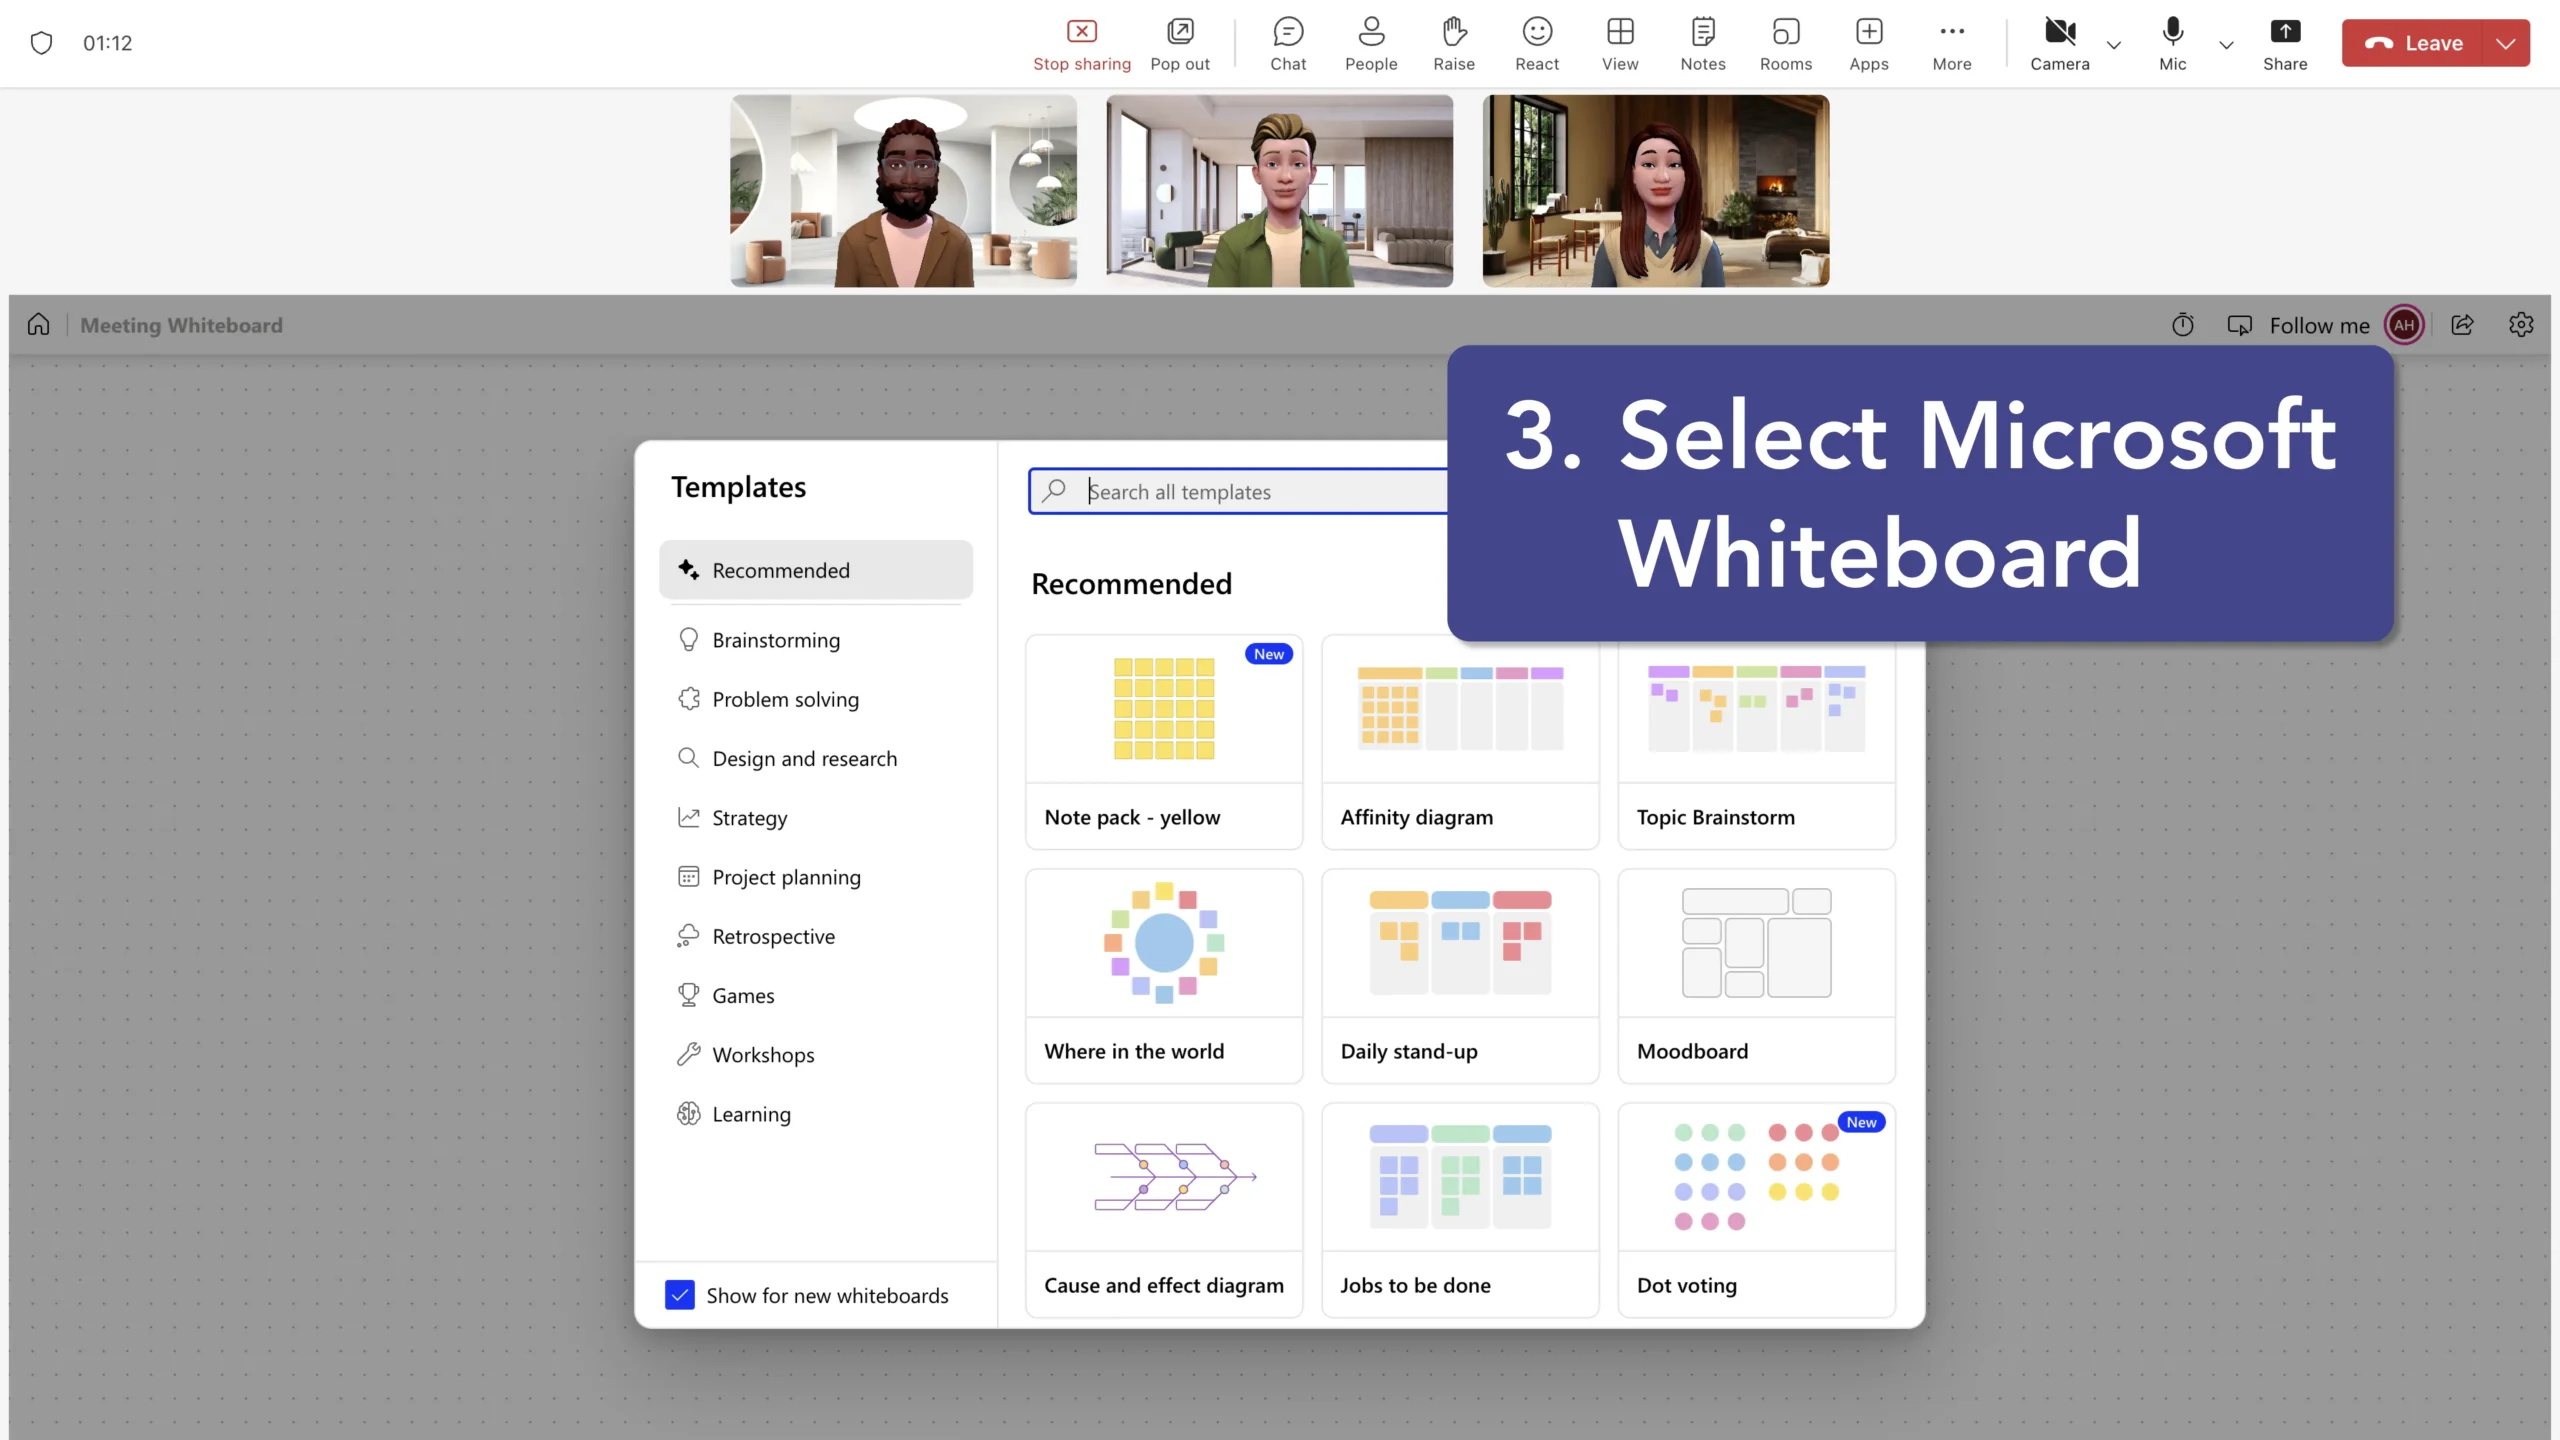
- Select Microsoft Whiteboard: In the Share Tray, you will see an option for "Microsoft Whiteboard." Click on this option to open the whiteboard.
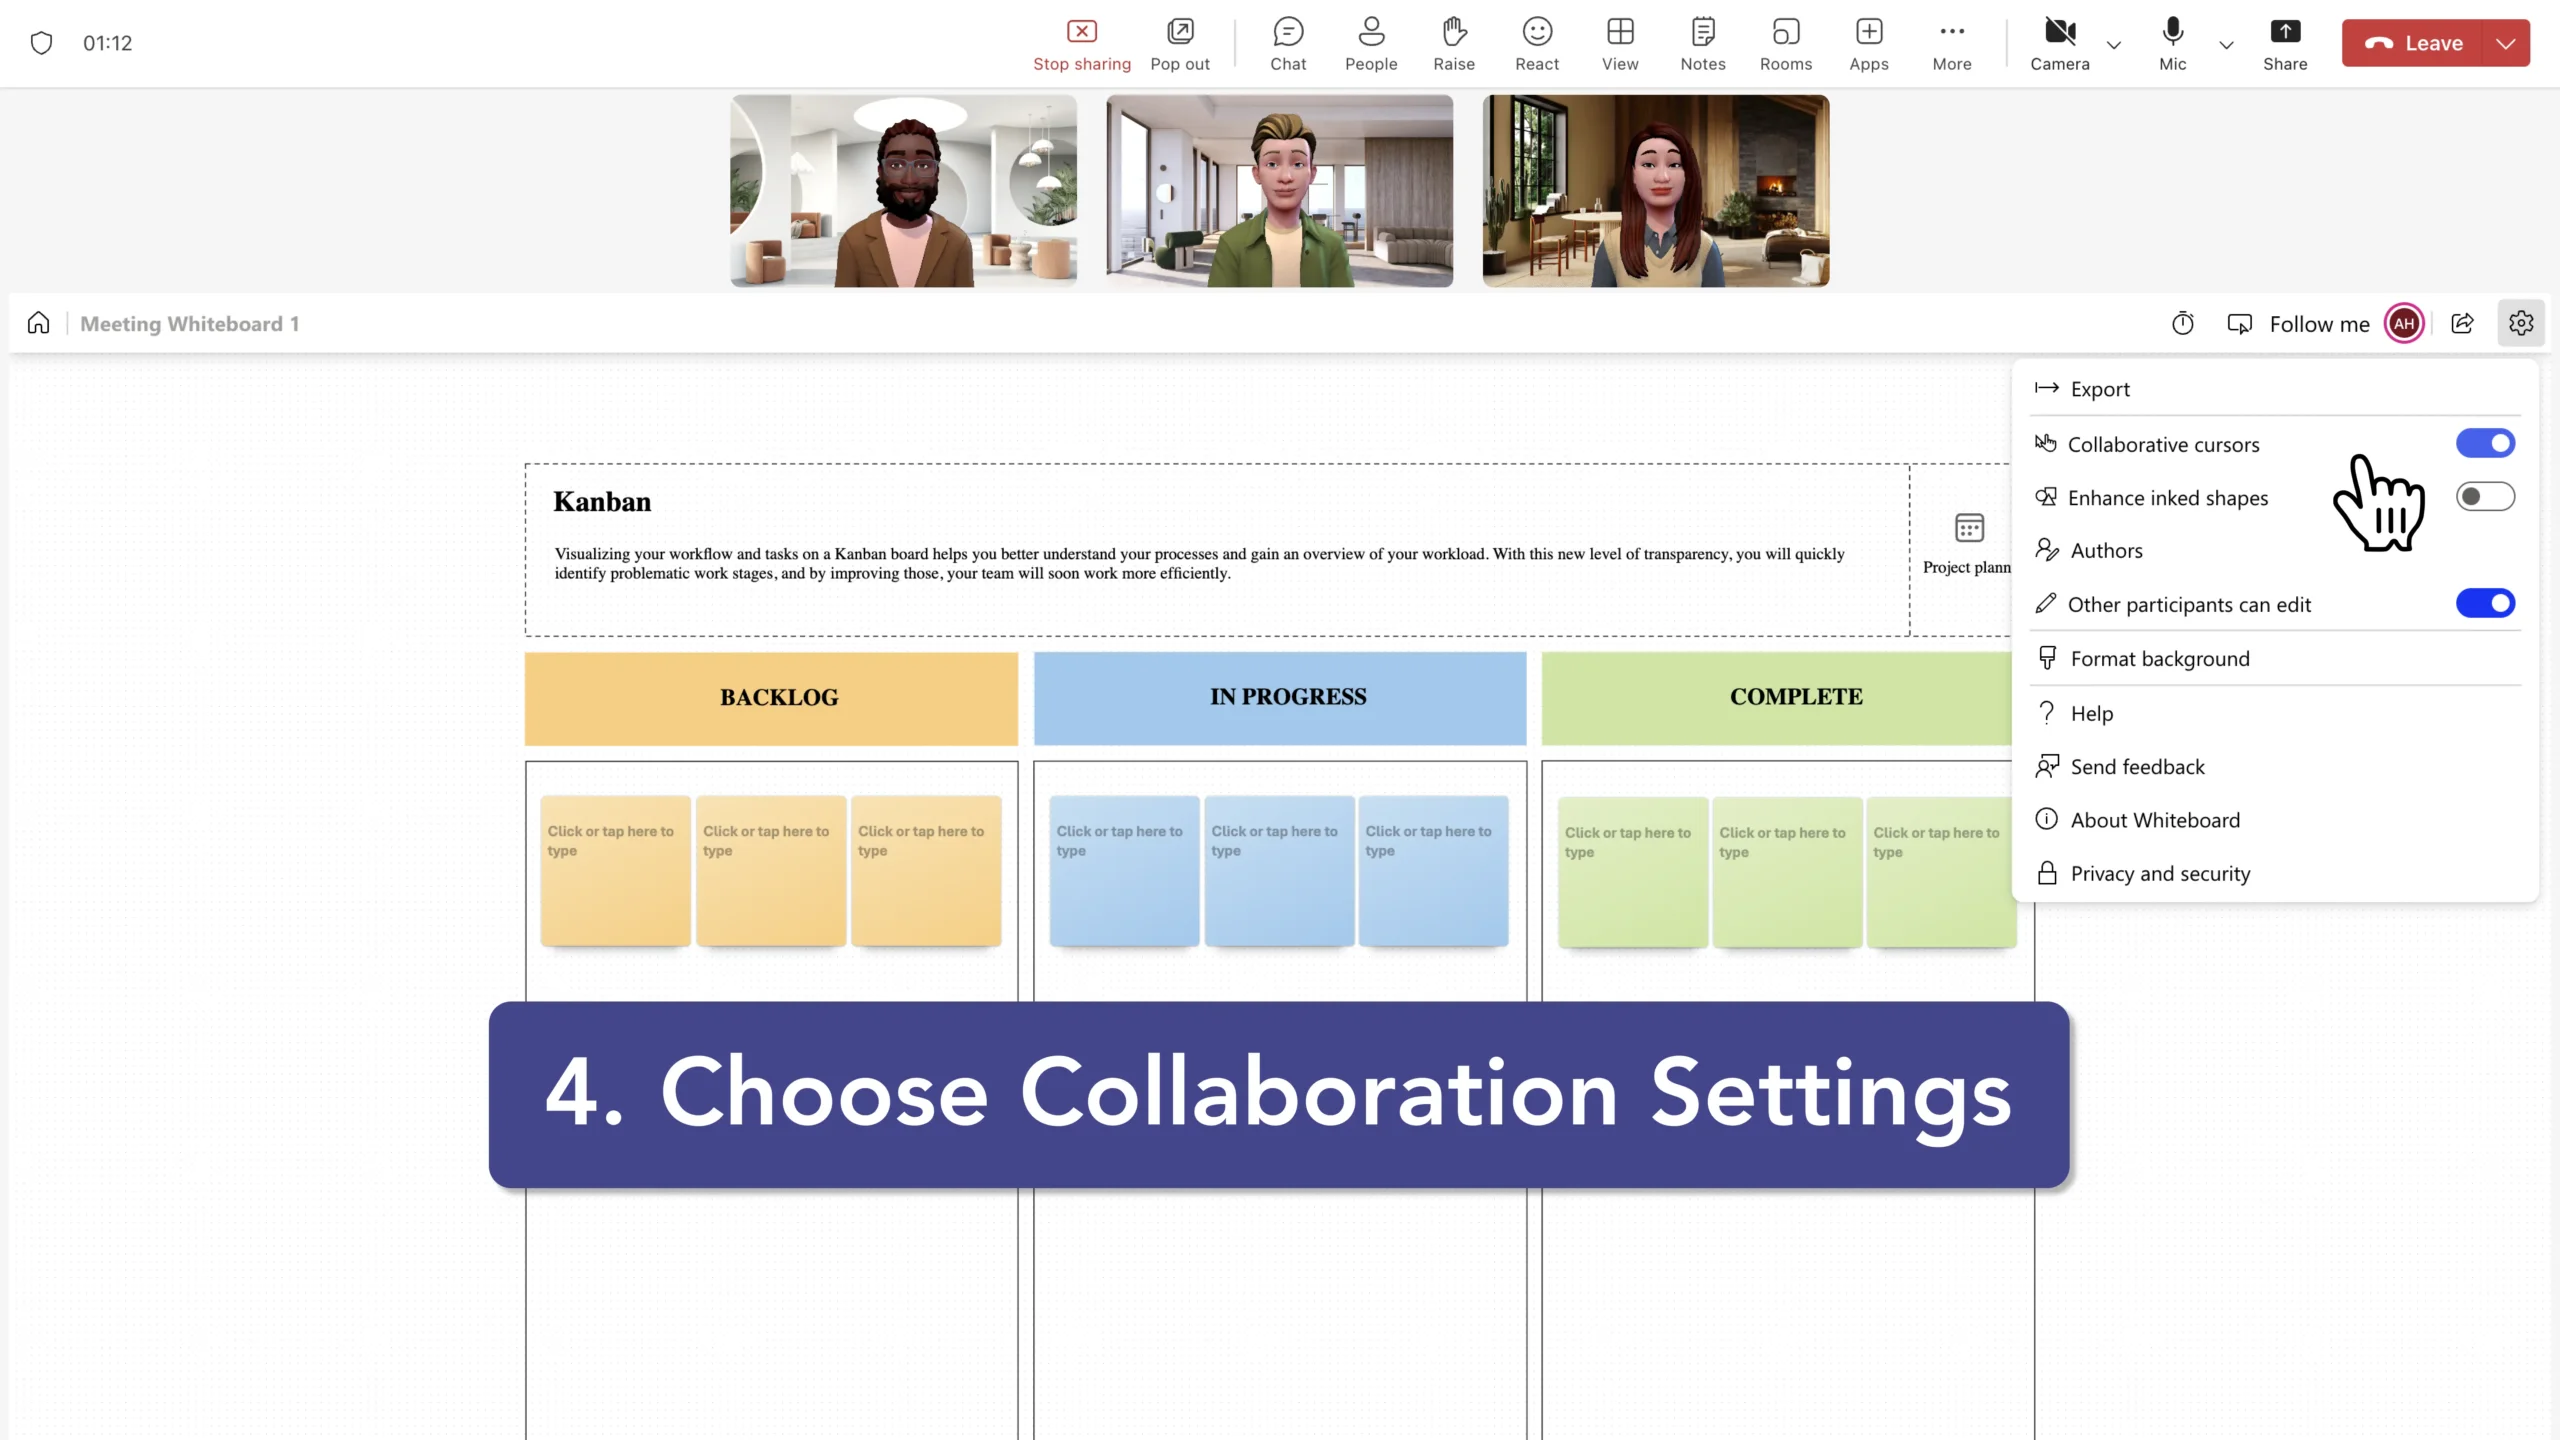
- Choose Collaboration Settings: After opening the whiteboard, you can choose whether to allow other participants to edit the whiteboard or to keep it view-only. This setting can be adjusted in the whiteboard's options.
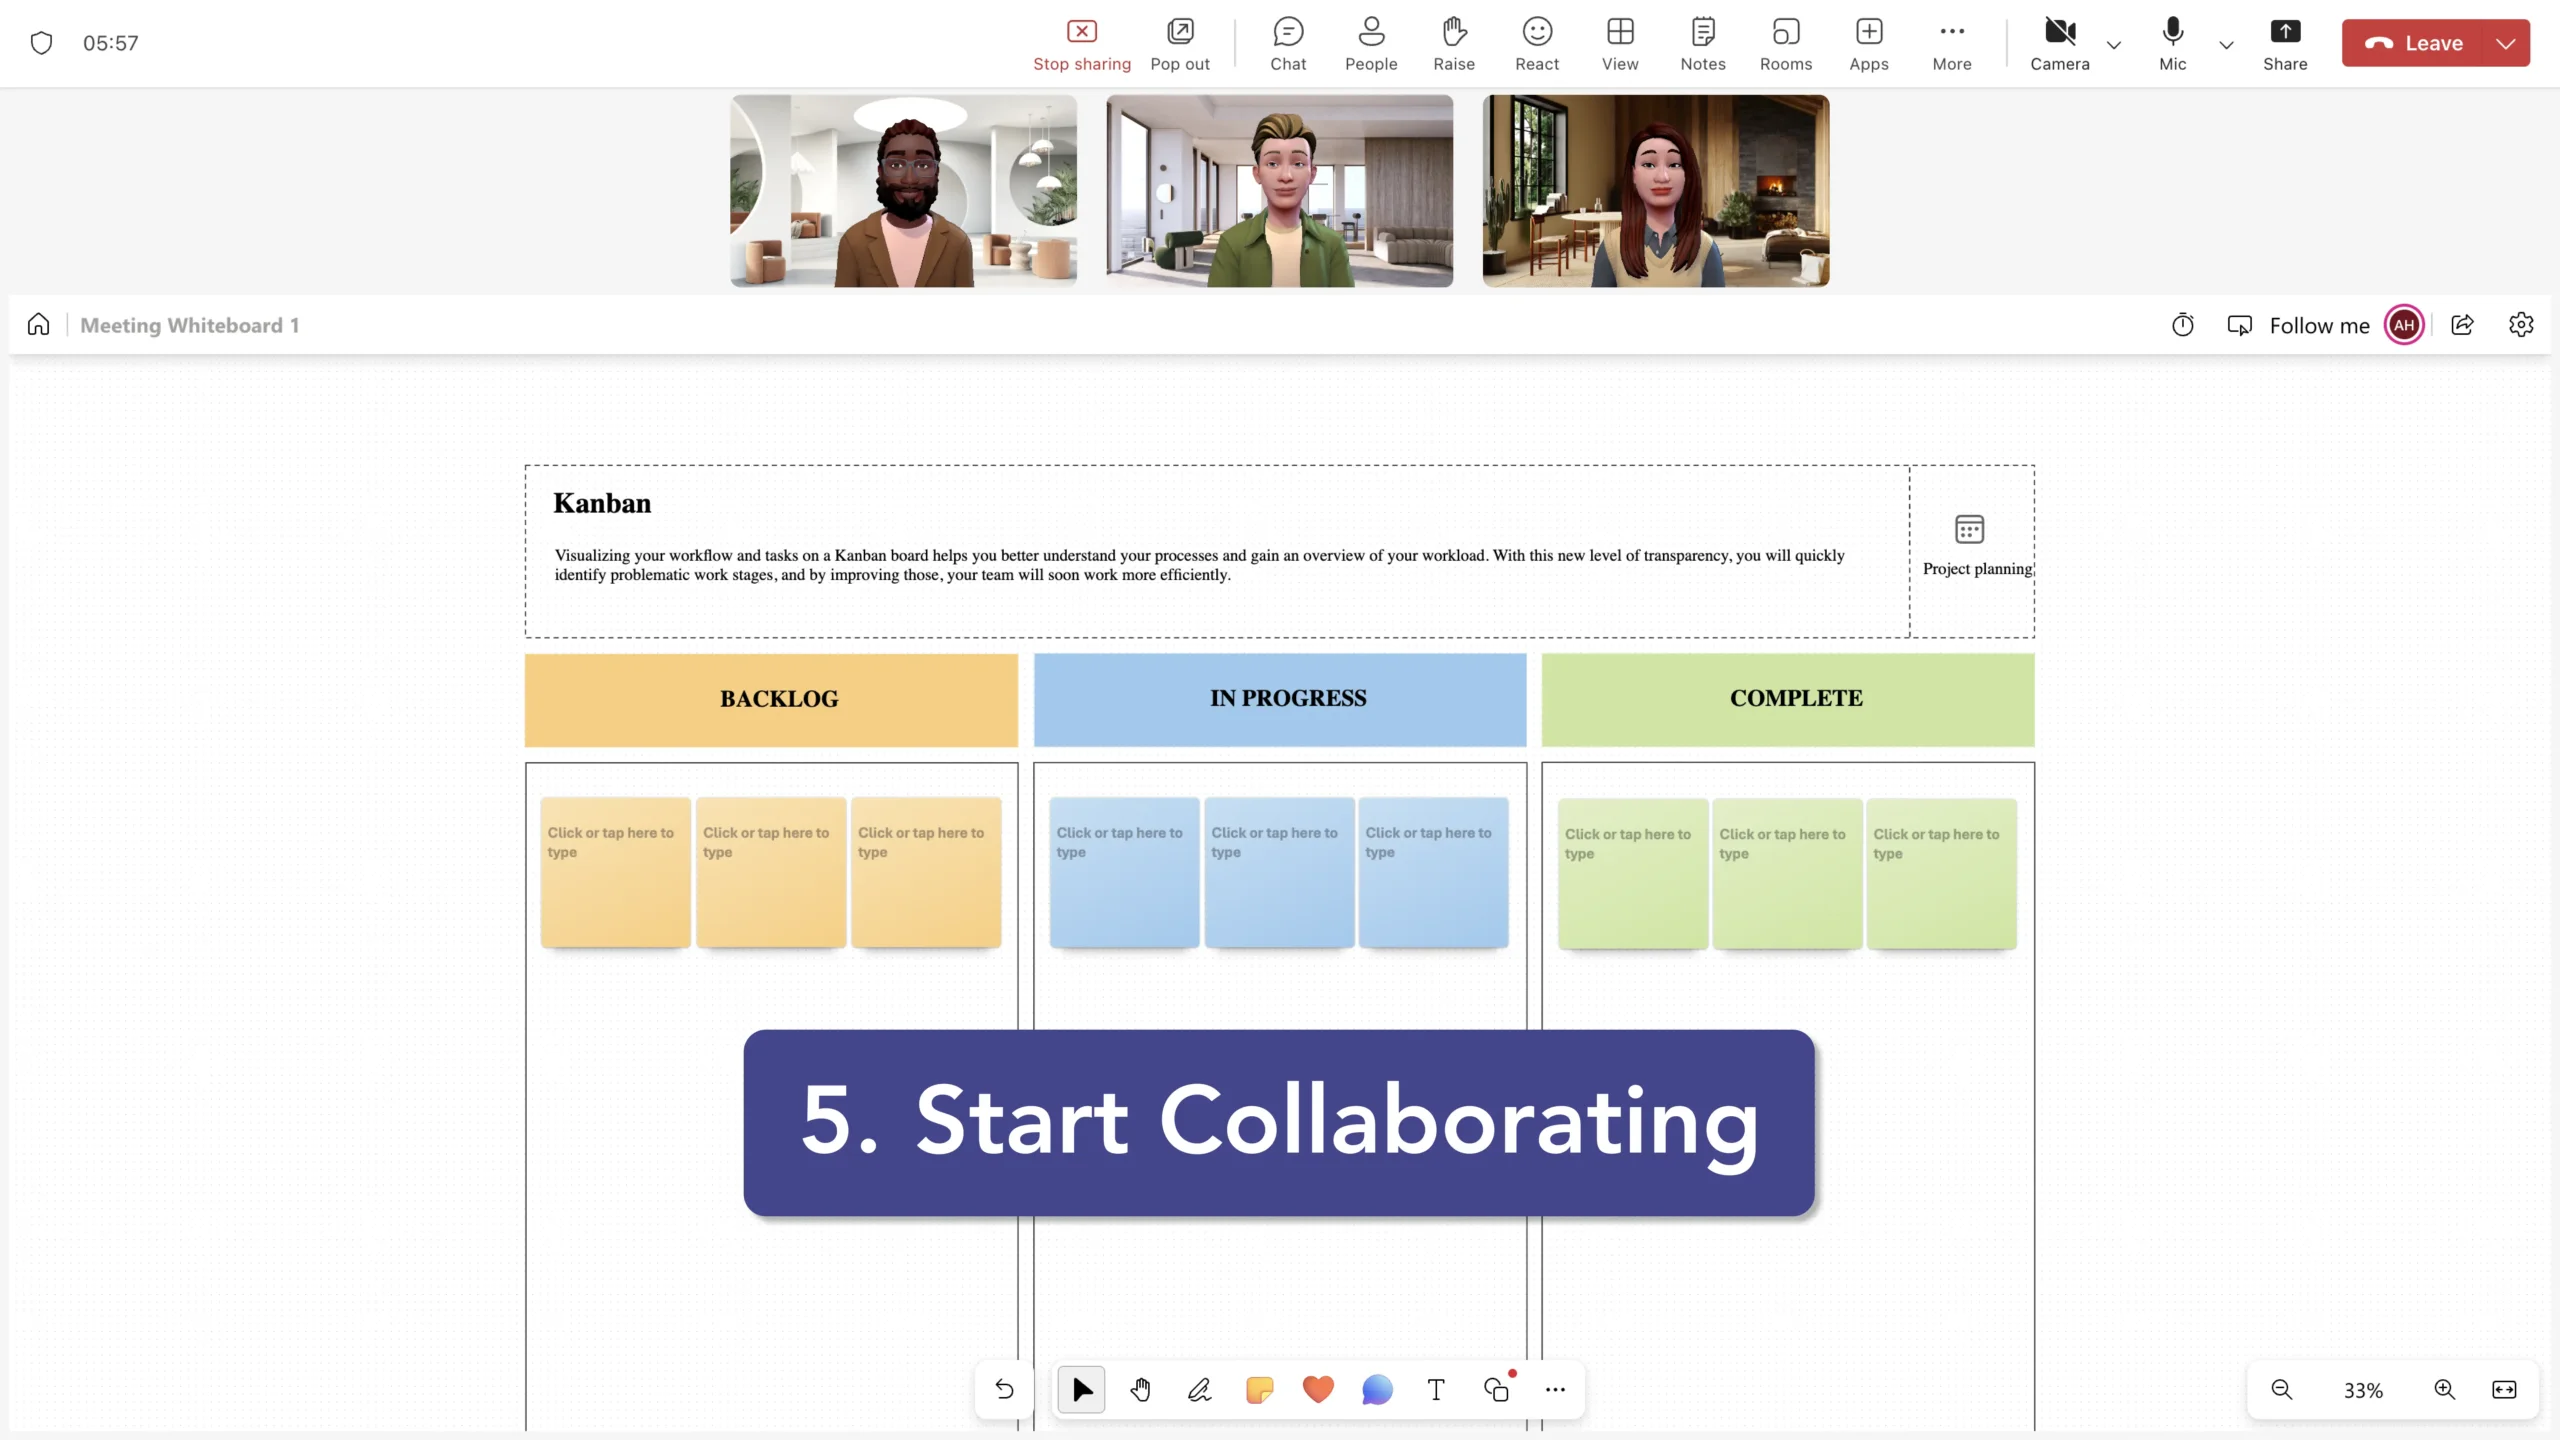
- Start Collaborating: Once the whiteboard is open, you and other participants can use various tools such as pens, highlighters, sticky notes, and text boxes to collaborate in real-time. The whiteboard is automatically shared with all meeting participants, allowing for easy collaboration.
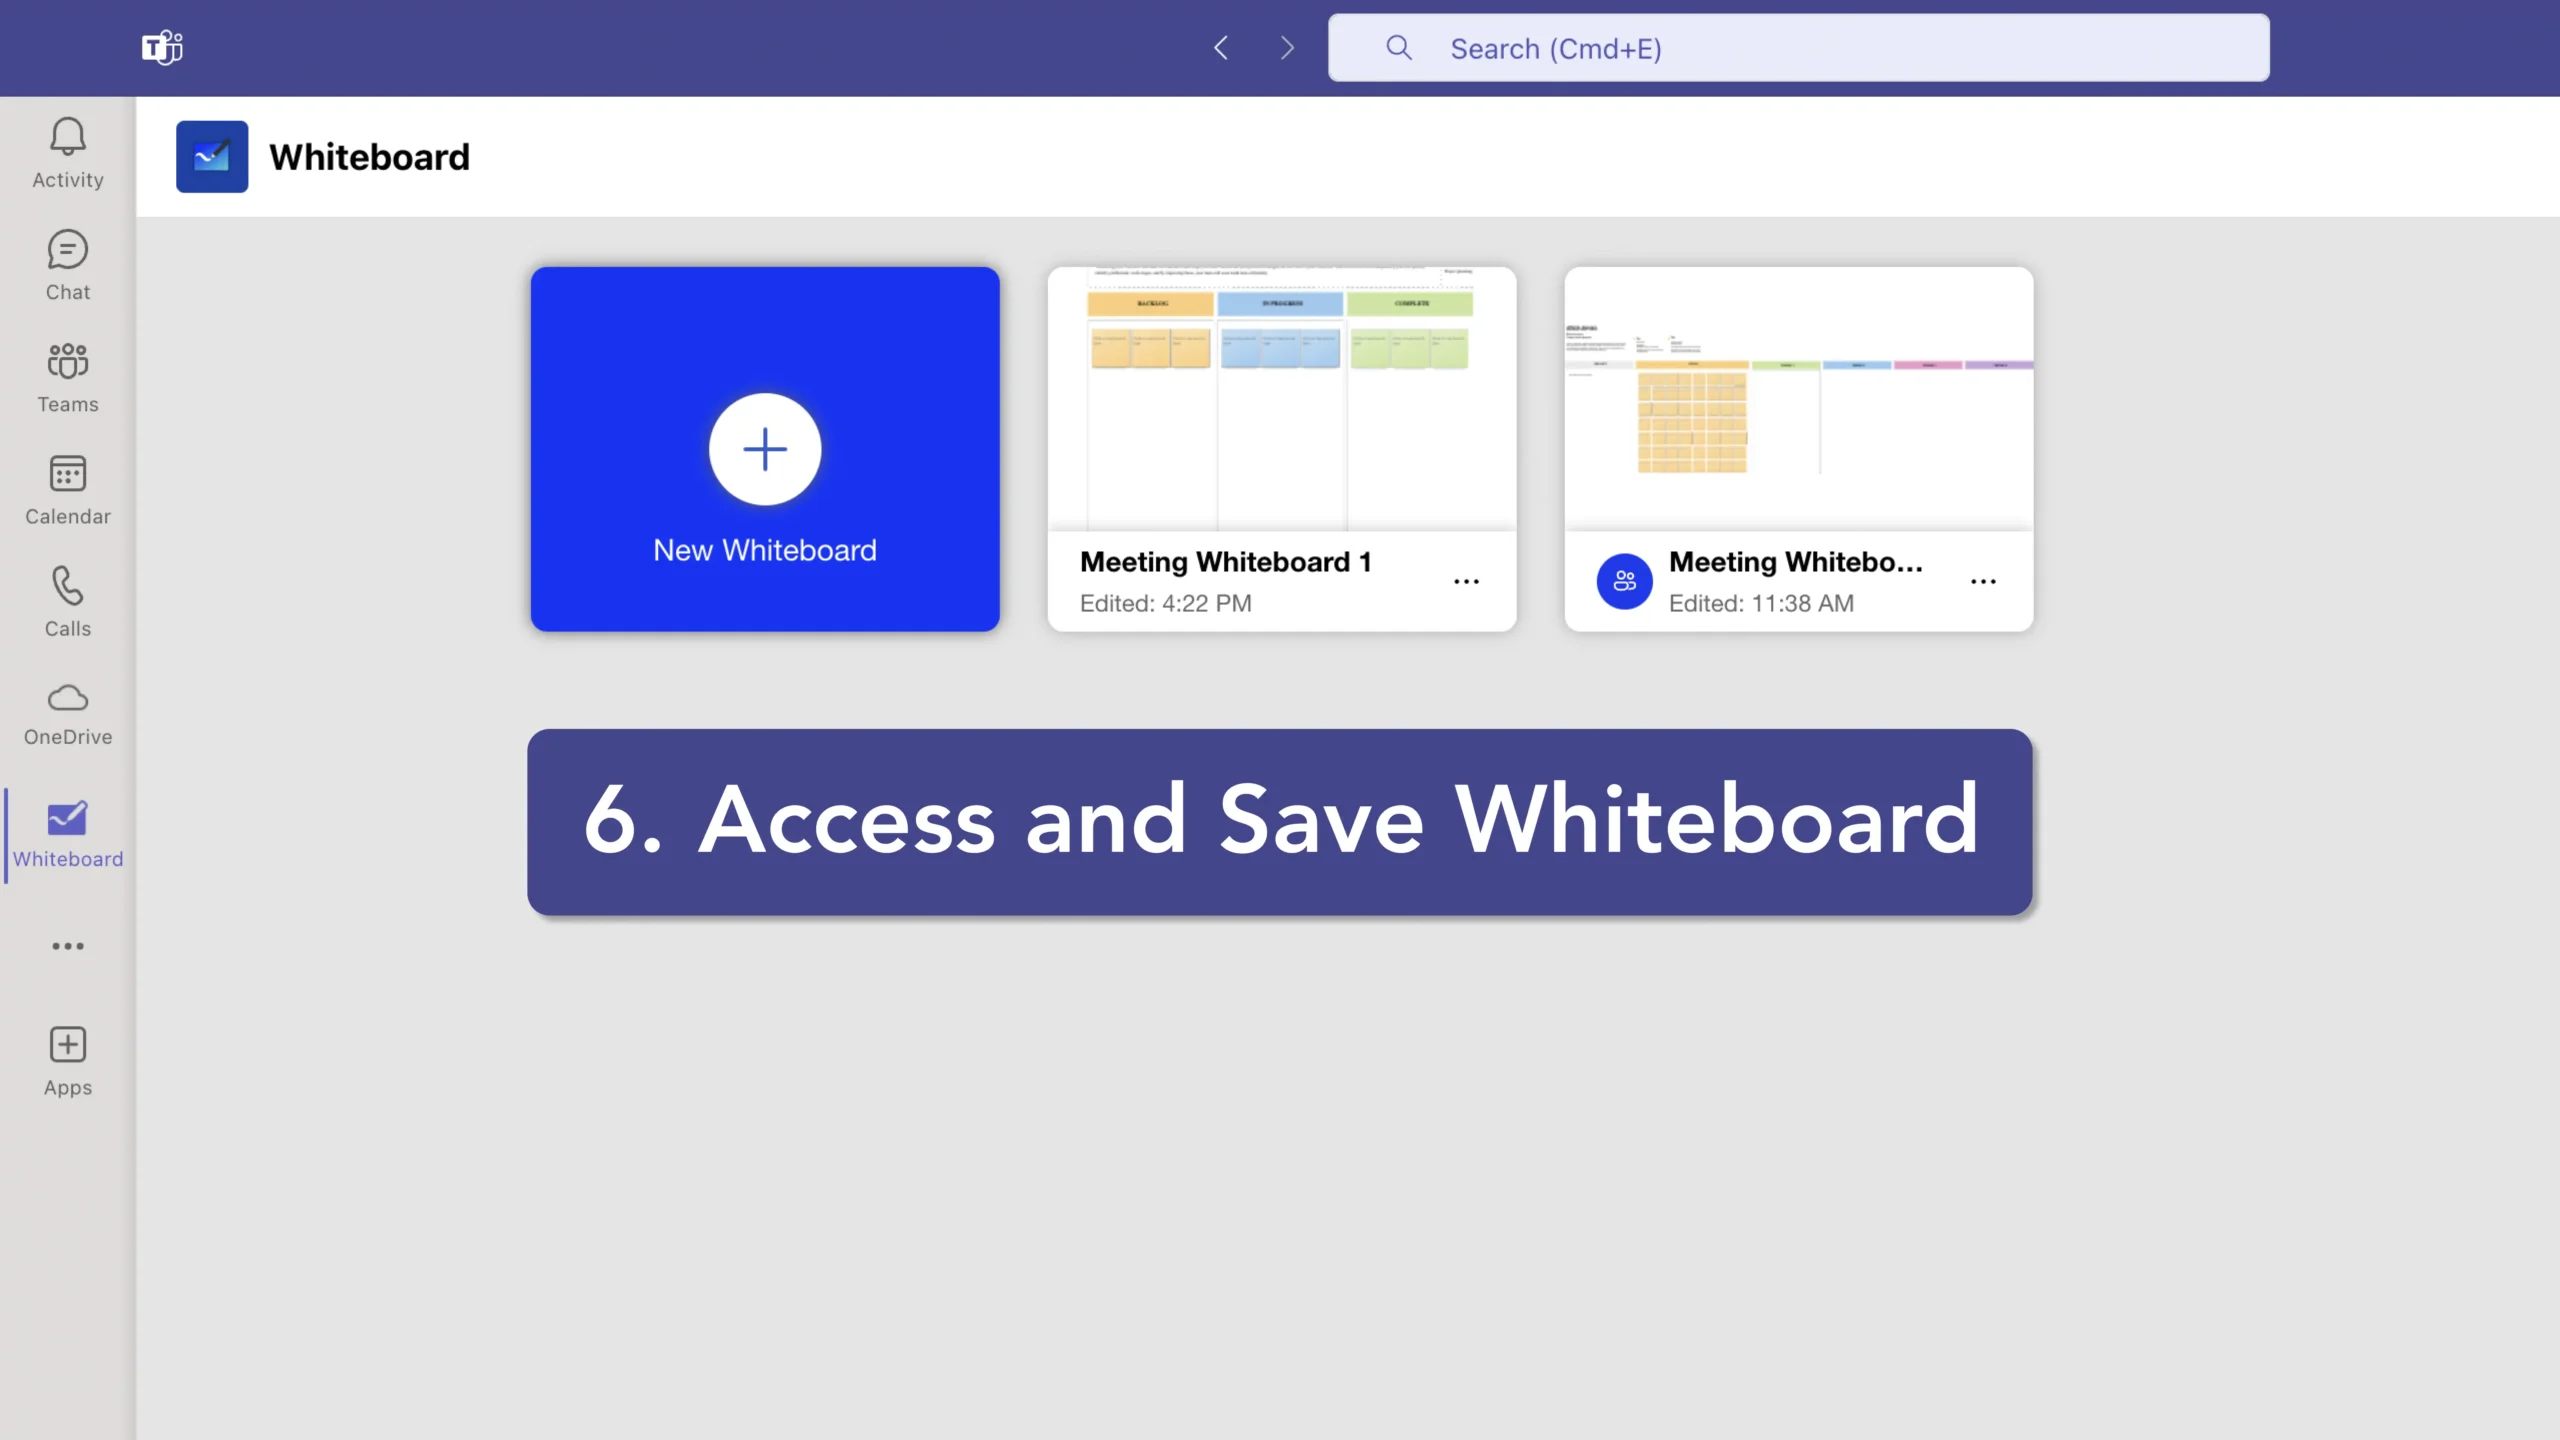
- Access and Save Whiteboard: After the meeting, you can access the whiteboard again by going to the "Whiteboard" section in Microsoft Teams. You can also export the whiteboard as an image if needed. selected, the channel will be hidden by default.)
These steps allow you to effectively use the Microsoft Whiteboard feature during your Teams meetings, enhancing collaboration and idea-sharing among participants.
